

Working with Styra on Windows
I was working on a research project that involved evaluating Styra, but it took me a couple of days before I was able to write my first policy.
Styra provides authorization policy management for native cloud apps. It is built on top of the open-source Open Policy Agent.
What bothered me was that the numerous tutorials on Styra all seemed very straightforward, but none worked on Windows as described. Let me save you some time and fill you in on all the details.
To be clear, I won’t talk much about how to use Styra here; that’s actually explained pretty well in their documentation. What follows is only to guide you through the first setup if you use a Windows machine.
Getting Started
The first step is to create a new system (+) icon next to [Systems] and select a System Type.
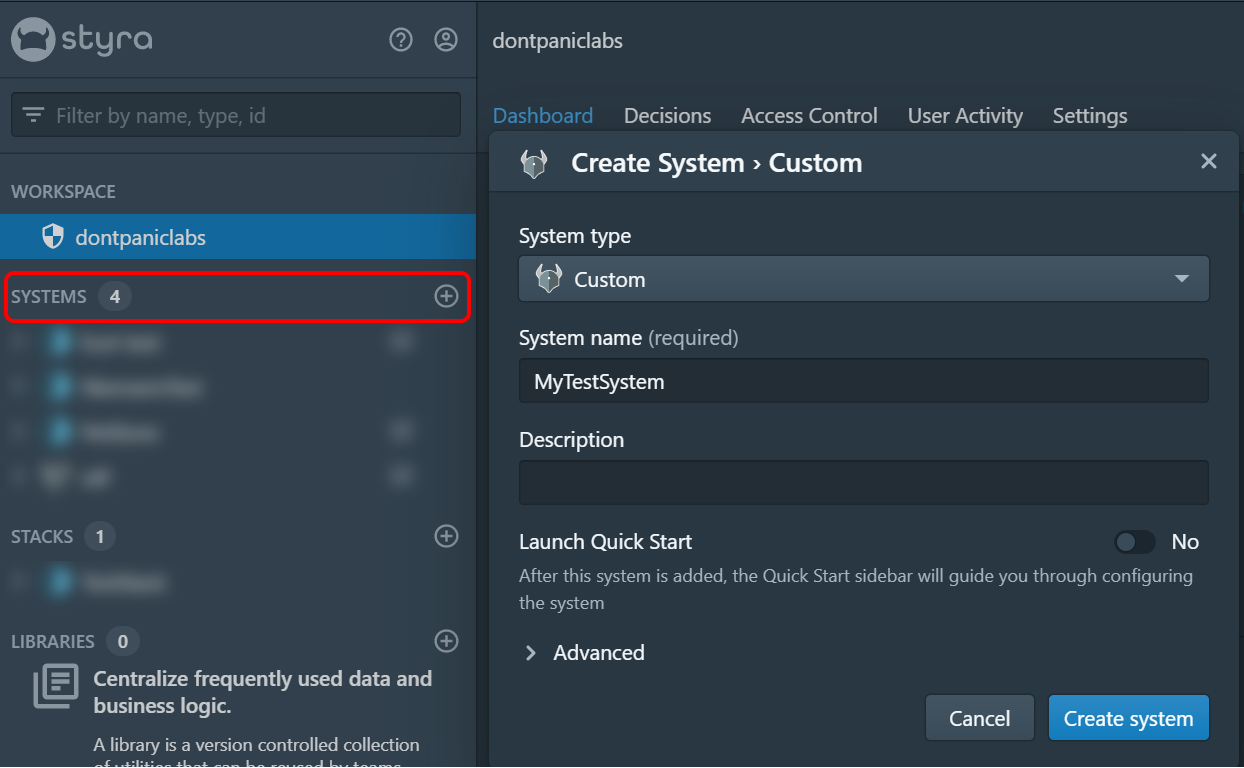
Upon creating the system, you should get redirected to the Install page.
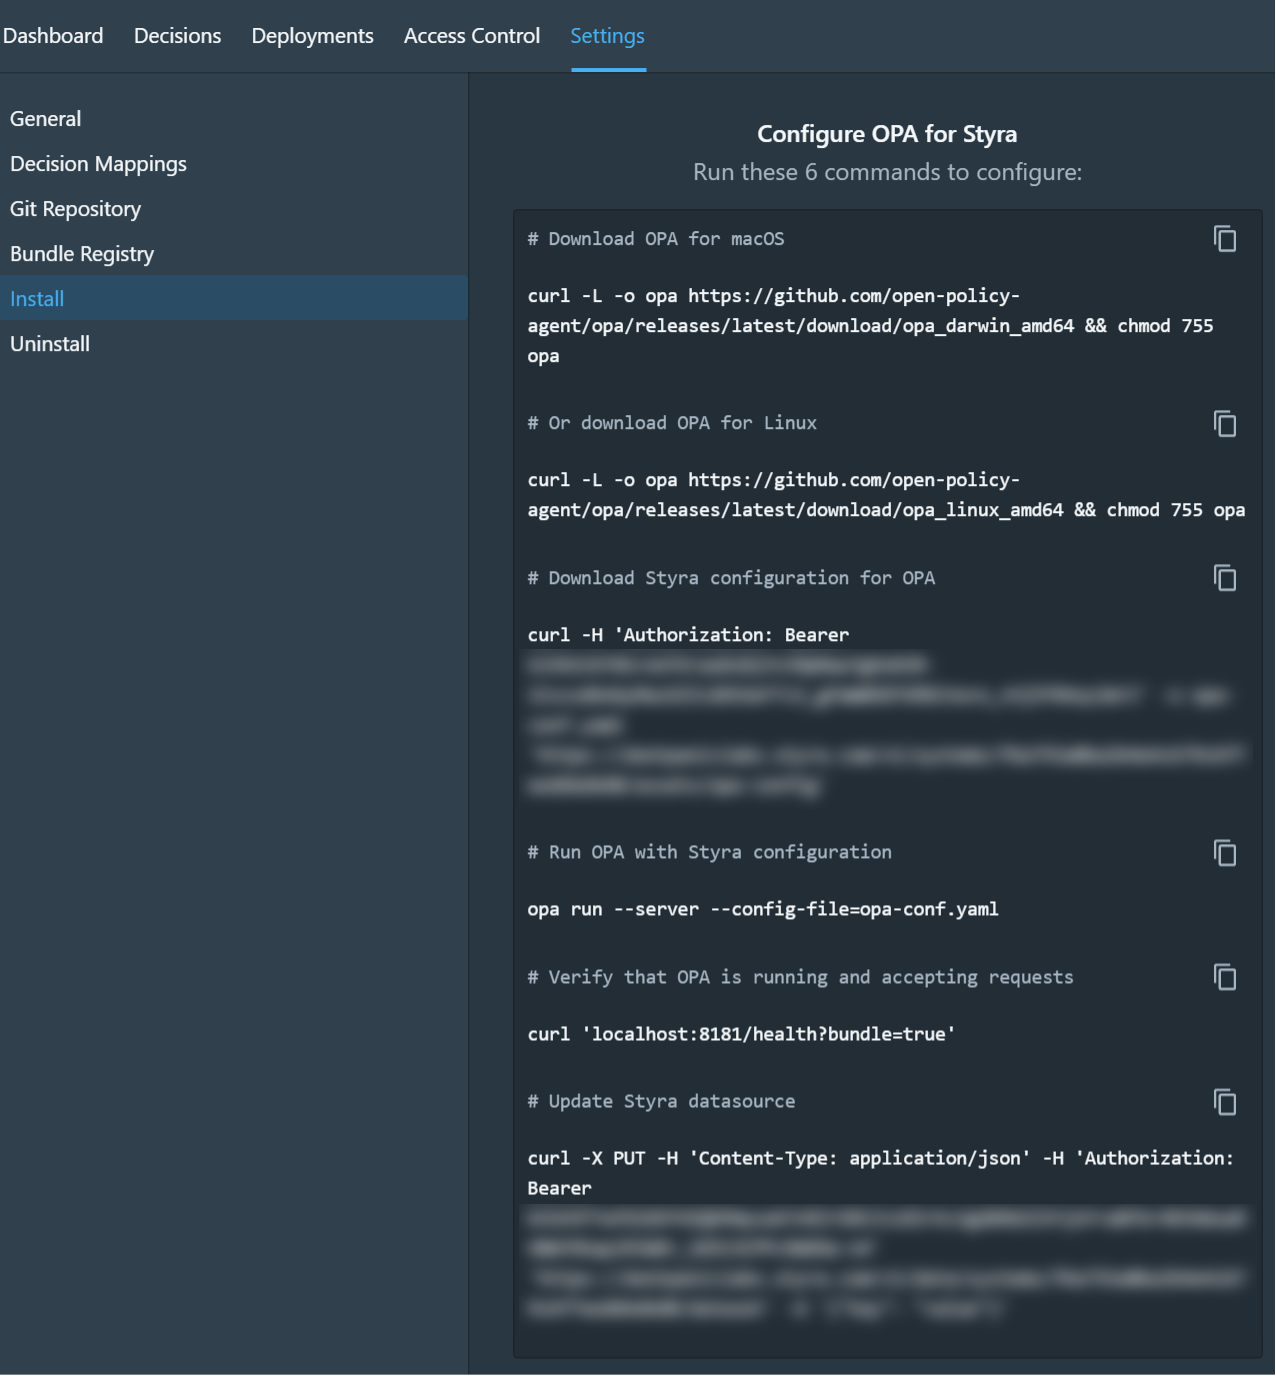
This is where stuff stopped working.
NOTE: The install instructions are different for each system type, but the ‘Custom’ type has the most extensive instructions, and you will want to use all of them.
You need to get OPA onto Windows, but neither of the commands will work.
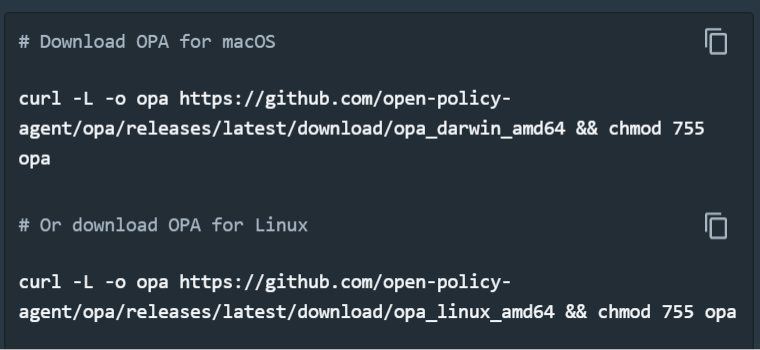
You will need to download the OPA client (.exe) directly for your system from here:
https://github.com/open-policy-agent/opa/releases
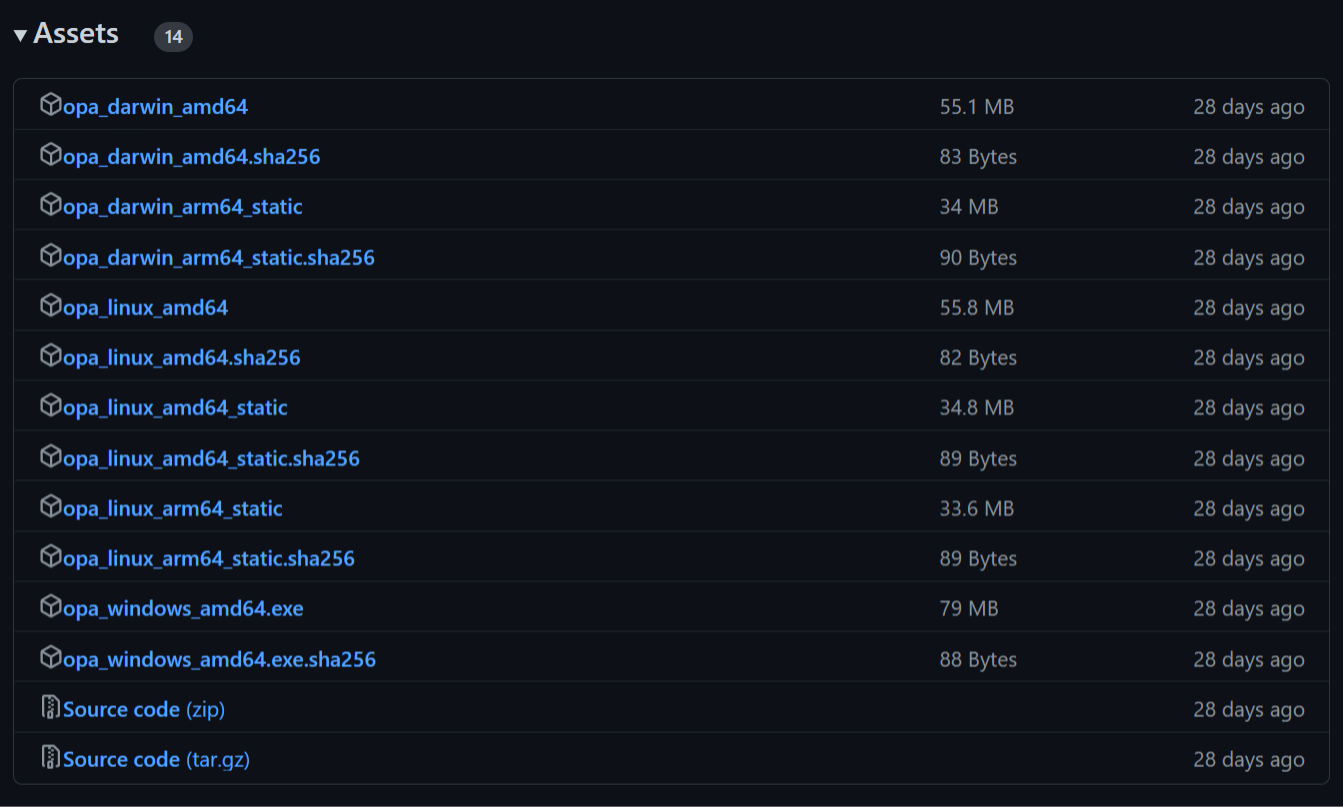
Next, you need to place that .exe file in a reasonable directory for you to access later. For simplicity, I will assume you put it in the same directory we will use for the next steps.
This command is important but doesn’t actually work on your machine.
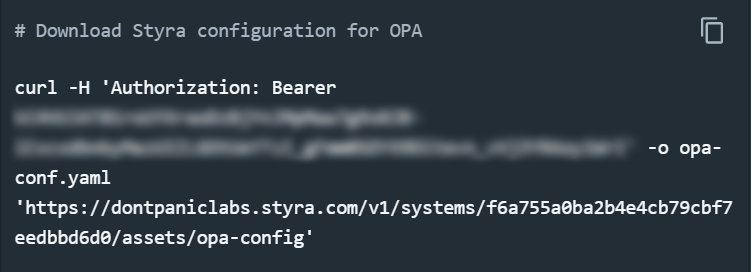
At a bare minimum, you must change “curl” to “curl.exe”; simple yet important. This will download your configuration for your OPA client. Here is some explanation for the file.
NOTE: Don’t use this site for your setup. The Docker instance wouldn’t work on my Windows machine, and there are several issues with the instructions at the time of writing this guide.
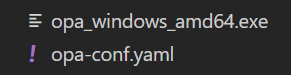
We can continue once you have these two files:
The following command won’t work (again).

But all you need to do is call the OPA instance directly like this:
.\opa_windows_amd64.exe run --server --config-file=opa-conf.yaml
Your instance should start with something like this:

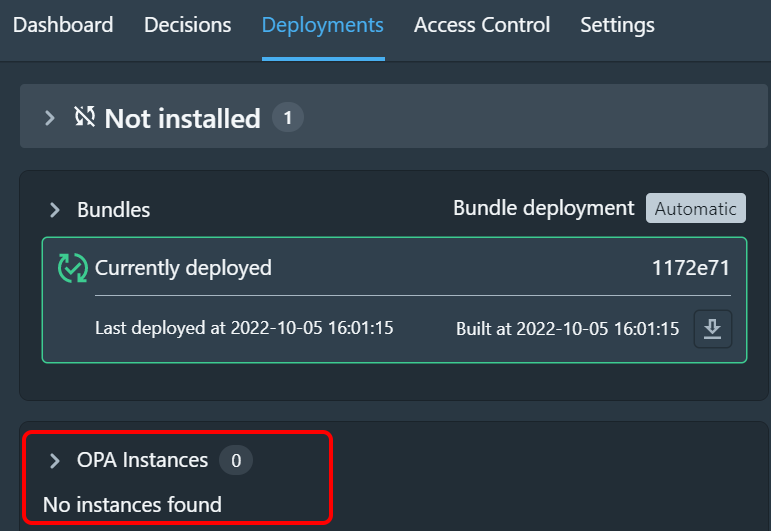
Once this works, your OPA instance should be connected to your Styra dashboard.
To compare, here is Styra disconnected:
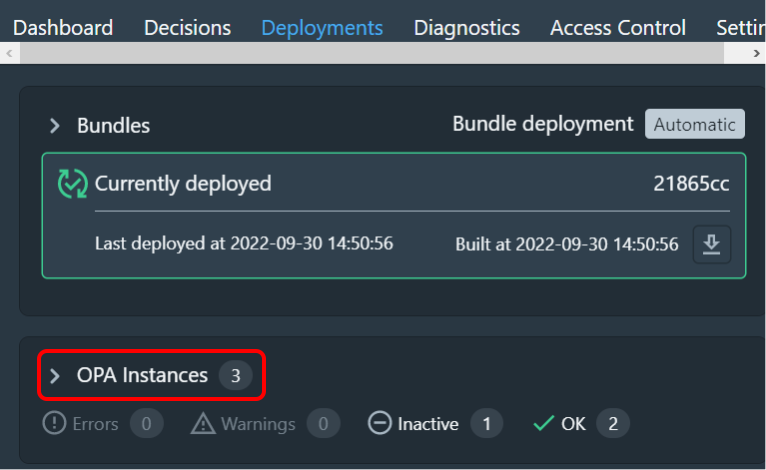
Here is Styra connected:
The following two commands are to get you going. The first one:

This command is a simple health check.
Change “curl” to “curl.exe” again, or import the same command into your Postman Client.
Here is a sample of writing some data to the datasource in Styra. Do the same as above.
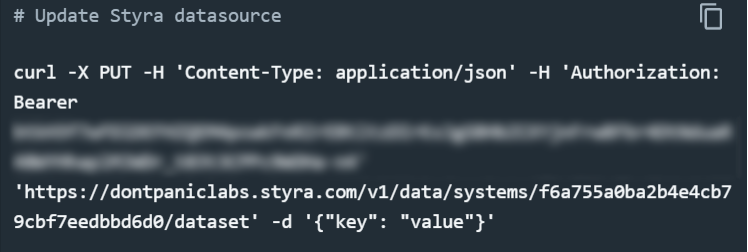
Here is the first glimpse at the Styra API that you can use.
One thing I will note with the API access, you will see information like this:
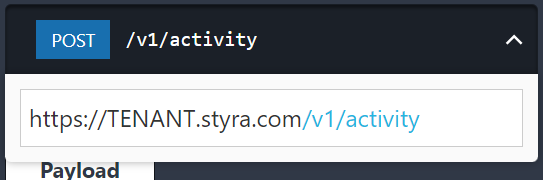
TENANT is everything between https:// and .styra for your Styra Dashboard link. It may have multiple parts (e.g., https://t1xn8e.svc.styra.com/, where your TENANT is t1xn8e.svc).
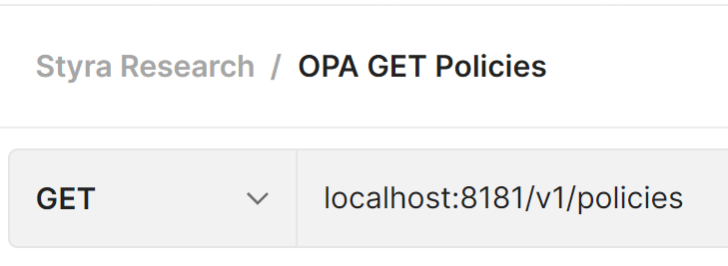
To execute/call/enforce your policies from Styra locally, you should use Postman. By default, OPA uses port 8181. OPA has its own API separate from Styra. Here is OPA’s documentation.
If you want to see all policies, you can use the following:
To access a specific Policy, you can use the Styra path. For example:
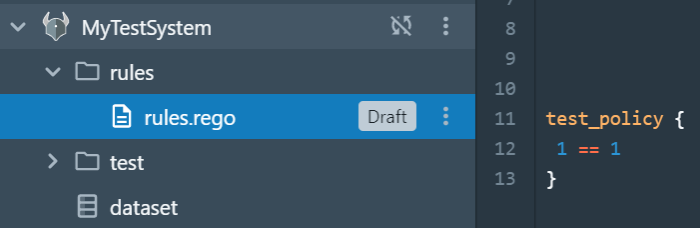
To call the test_policy, you can:
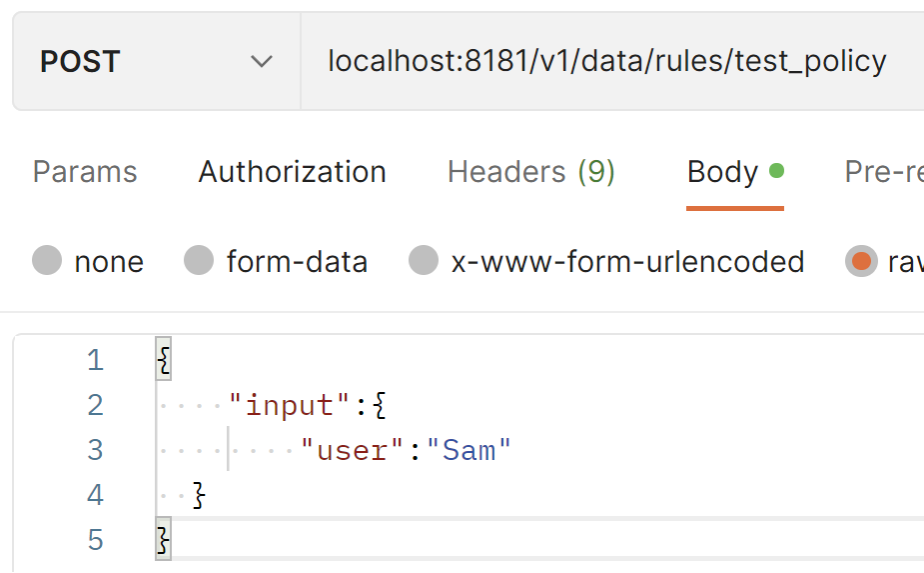
NOTE: You need the input property in your payload.
There will be times when you want to evaluate actual rules and not just specific policies. This is especially useful for other system_types like “Entitlements”.
Refer to these entitlements tutorials to get the enforce results. You can also call the OPA Server Root:
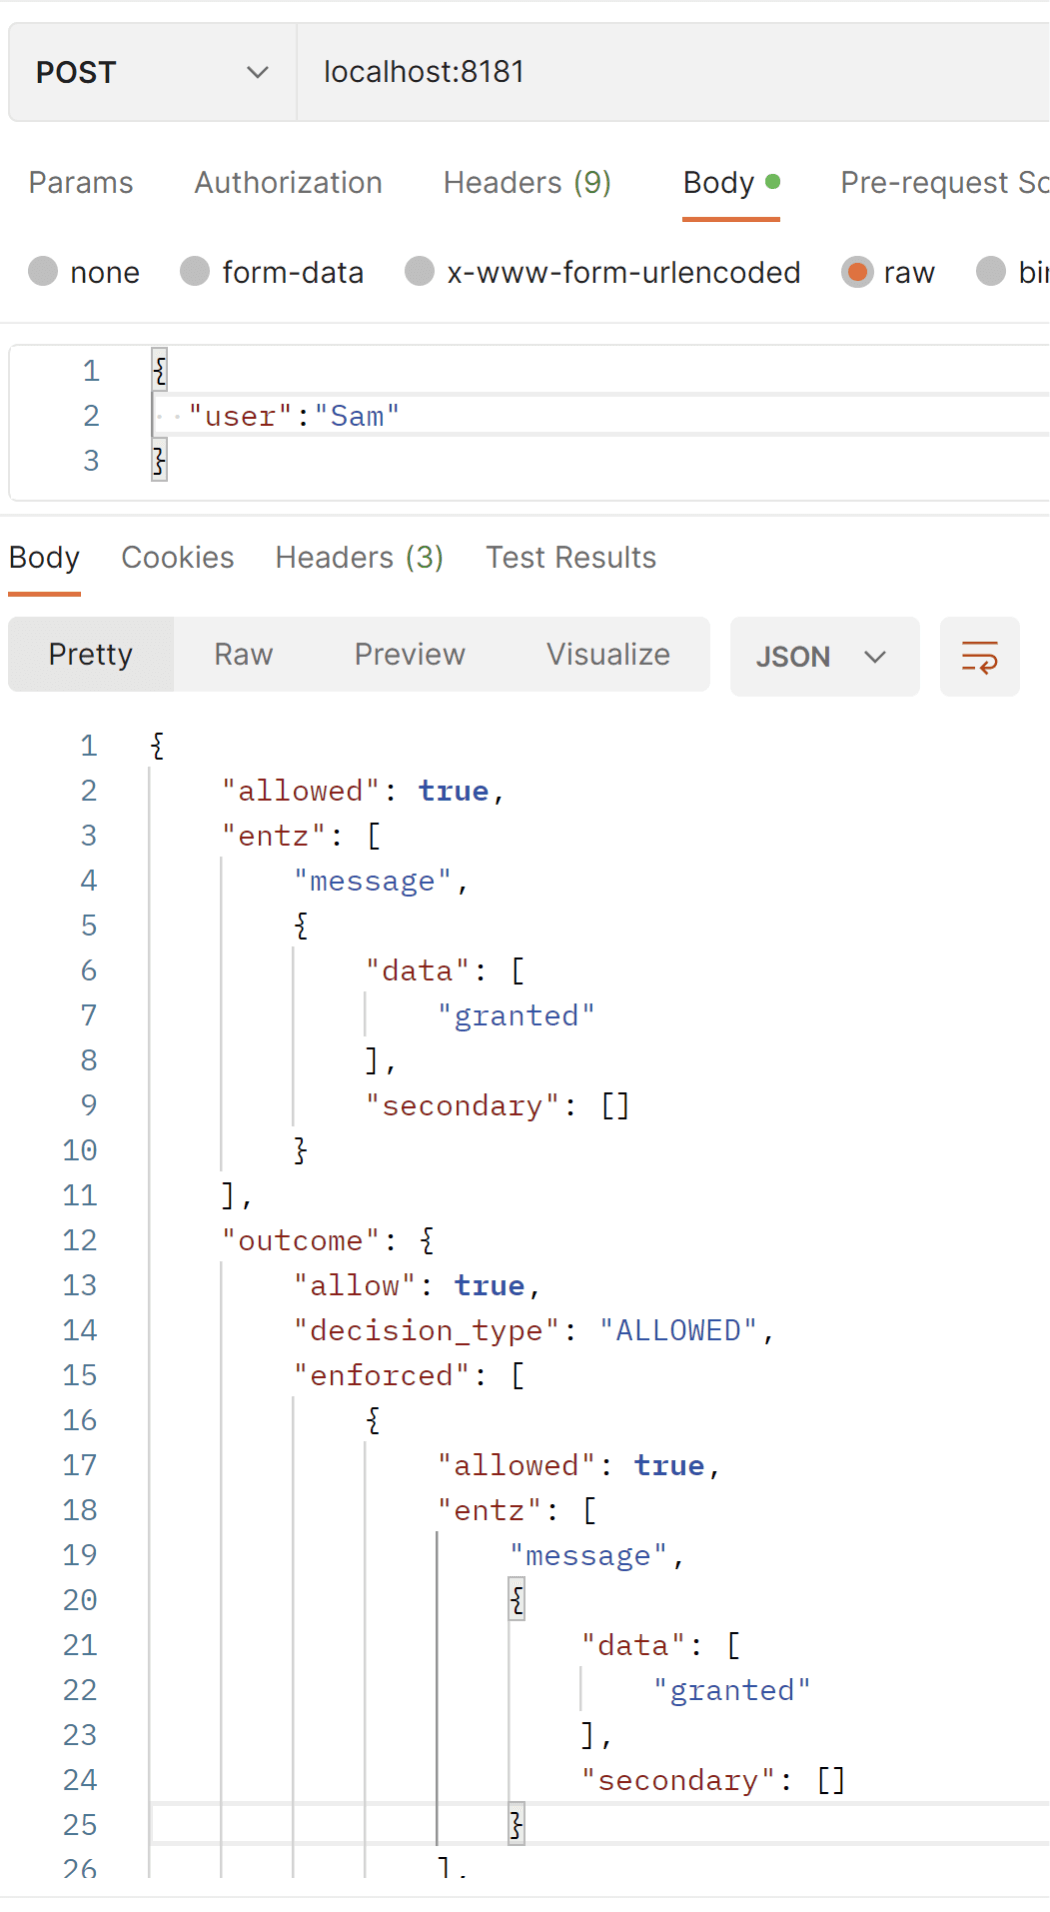
NOTE: You do not need the input property in your payload.
The data returned is specific to your policies and system, but for entitlements you will always get an allowed, entz, and outcome properties.
I hope this helps someone get going with Styra on a Windows machine and saves some time.


