Setting Up an Azure File Share on a VM
For a recent project I was working on, we needed to set up a new FTP server. This server would receive files via FTP, and then these files would be moved to a temporary machine for further processing. This process needed to be automated and be executed reliably, and without having to log in or reset anything after the VM restarts.
I tried a few “out of the box” components. After some trial and error, I found a solution that worked. The components involved include:
- Windows Task Scheduler
- Power Shell Scripts
- Azure Storage Account
- Azure File Share
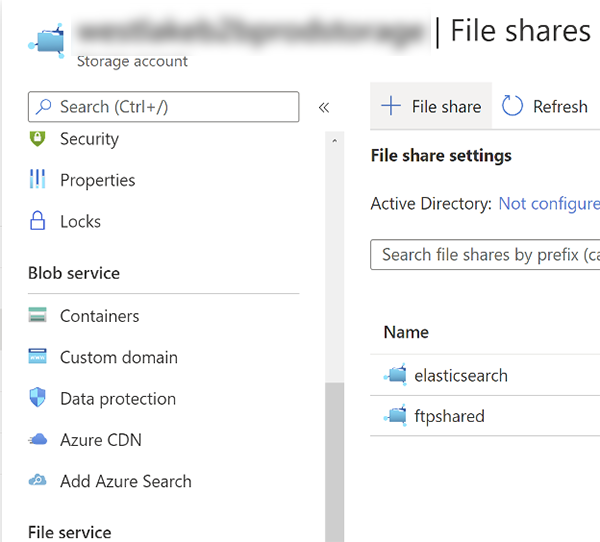
First, I had to set up a new File Share in Azure. This can be done by selecting a Storage Account, navigating to File service, and clicking “File share”. Here is more information about creating Azure storage accounts.
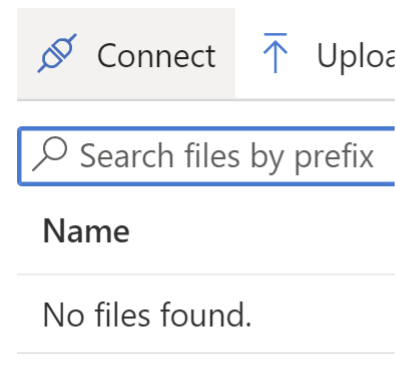
Then click “Connect”.
The Connect pane is displayed. Note the code in the gray box. Your VM will need this to connect to the storage account.
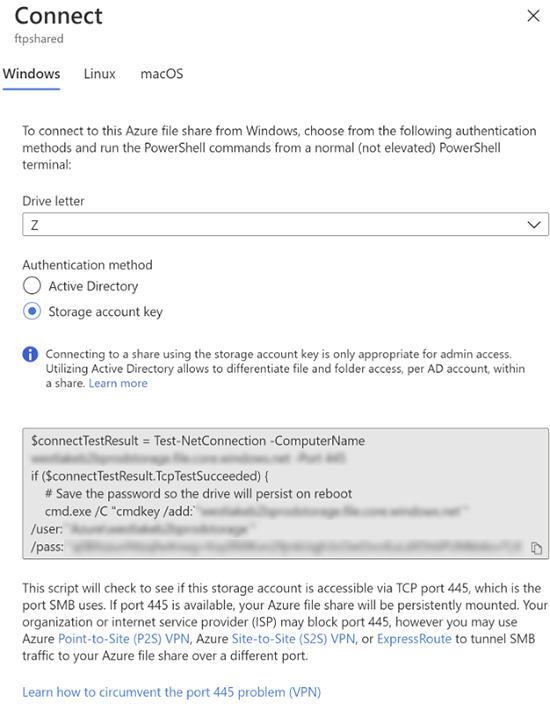
Next, log in to your VM. Create a new directory for PowerShell scripts (e.g., C:\Scripts).
Create a new text file in that folder, name it something useful (e.g., copy.ps1), and open it in your favorite text editor. Paste the content of the gray box here. You will need to add “-Scope Script” to the “New-PSDrive” command.

This will connect you to the Azure File Share from above.
Next, you can manipulate that storage any way you need by using PowerShell commands. In our case, we wanted to move all files from one directory into the File Share.
![]()
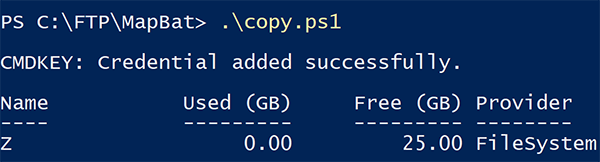
You can test this script by executing it from a PowerShell window. The result should look like this:
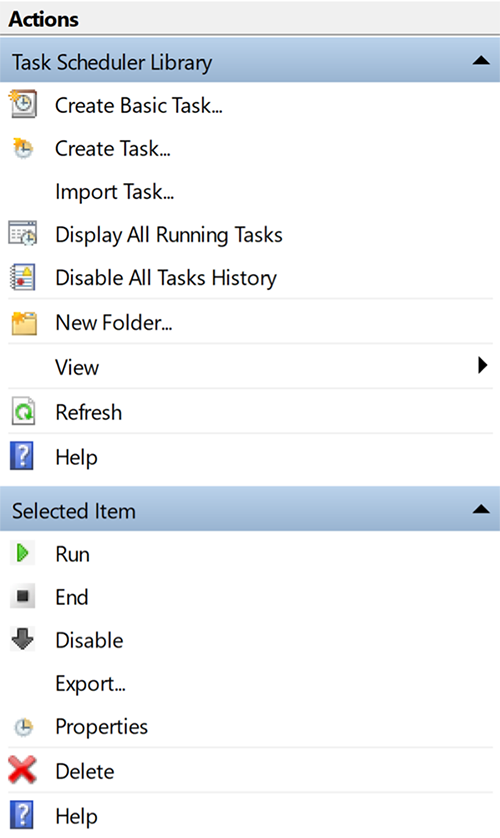
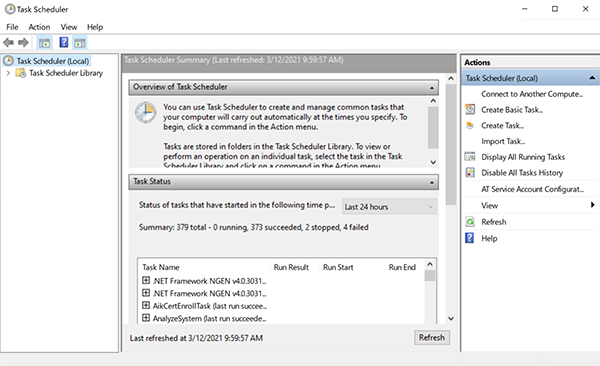
Once the PowerShell script has completed running, we can set up the scheduled task. Type “Task Scheduler” into your Windows search and click “Create Task” in the Actions pane.
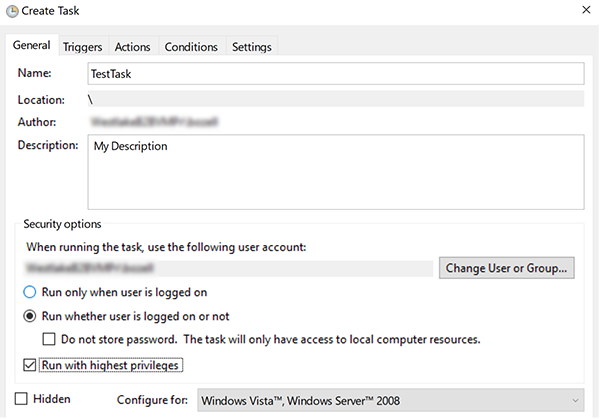
The Create Task box is displayed. On the General tab, enter the Name and other appropriate information. Make sure you select “Run whether user is logged on or not” and “Run with highest privileges”.
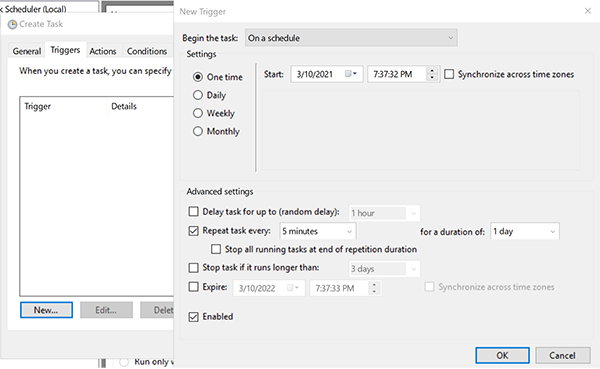
On the Triggers tab, click the “New” button. The New Trigger box is displayed. Specify the appropriate values and click “OK”.
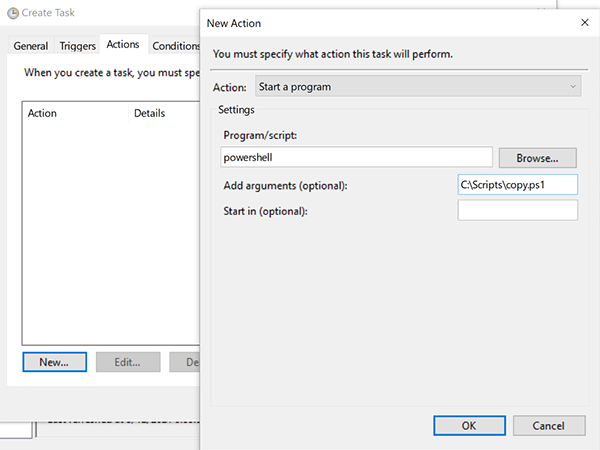
On the Actions tab, click the “New” Button. The Edit Action window will display. Enter “powershell” as the “Program/script”. The “Add arguments” value is the full path to the test file we created above (e.g., copy.ps1). Update any other appropriate values and then click “OK”.
Your new task should show up in Windows Task Scheduler with a Next Run Time.

If you want to verify it’s working, click “Run” in the right pane.
Be aware that the table doesn’t automatically update, so you might need to click “Refresh” to see if the task executed successfully. I have often seen the first run get stuck with a status of “The Task is Currently Running”. Clicking “Refresh” again seems to help.
And that’s it. The task will now automatically run at the defined schedule.