
How to Set Up a Ruby On Rails Project in Visual Studio Online
Visual Studio Online isn’t just VS in the cloud, it gives you a quick sharable Linux development environment in the cloud. This makes setting up something like a Ruby On Rails development environment in the cloud a pretty easy task.
Here’s how to get a Rails environment set up using VS Online.
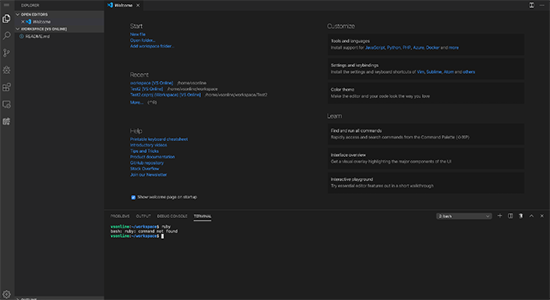
Begin by opening the terminal.
From here we will install Ruby. We won’t install Ruby using apt (apt-get install ruby-full) since the default version using apt will be too low to run Rails. Instead, we will use rbenv to download and install Ruby 2.5.1.
We will first install some necessary bit using apt.
sudo apt install -y build-essential libssl-dev libreadline-dev zlib1g-dev
Then we will download and install rbenv.
sudo wget -q https://github.com/rbenv/rbenv-installer/raw/master/bin/rbenv-installer -O- | bash
After rbenv is installed, you need to run the init command to set up rbenv. This command may have you append a command to your bashrc file.
rbenv init
You can run a simple program to verify that rbenv is running correctly.
curl -fsSL https://github.com/rbenv/rbenv-installer/raw/master/bin/rbenv-doctor | bash
Once rbenv is set up correctly you can install Ruby 2.5.1.
rbenv install 2.5.1
Then you can set your environment to use Ruby 2.5.1.
rbenv global 2.5.1
At that point, you are finally ready to install and run Rails
sudo gem install rails
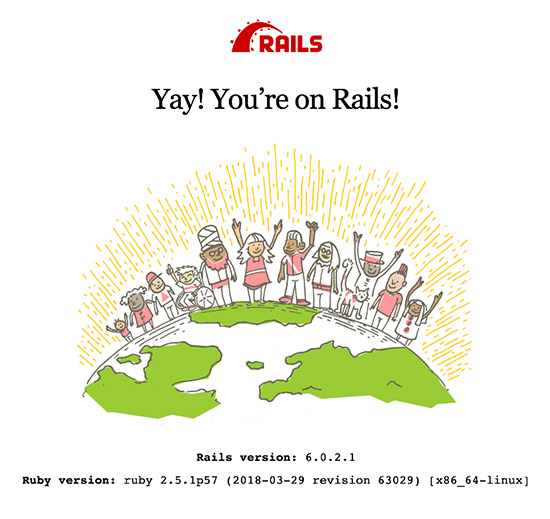
You can create a new rails project at that point with a “rails new” like you normally would. You can serve that project with a “rails server”, just like you normally would.
rails new
rails server
If you’re new to VS Online, check out my previous post about it.
For more information on setting up Rails, refer to https://solarianprogrammer.com/2018/09/22/install-ruby-macos-windows-ubuntu/.


