Deploying Reports for SQL Server Reporting Services
This is the long-overdue follow up to our Developing Reports for SQL Server Reporting Services post. Today I’m going to cover how to deploy your reports to an instance of SSRS.
Assumptions
Here are some things to keep in mind before deploying your SSRS reports:
- The Reporting Services feature must be installed and set up on the instance of SQL Server that you are working with (hit us up if we need a step-by-step blog post on this).
- Make sure you haven’t switched to Telerik Reporting or something rad like Highcharts since our last post.
Deploying Reports
So now you have your reports done and it’s time to get them on your reporting server. From within Visual Studio, you can deploy your entire project full of reports or any individual report.
First, right-click on your project in the Solution Explorer and view its Properties.
Note that you can have a different set of properties for each Configuration, so you can change all of these settings for your Debug, Dev, QA, Staging, and Production environments. Typically, all of these settings are the same for most environments except for the TargetServerURL.
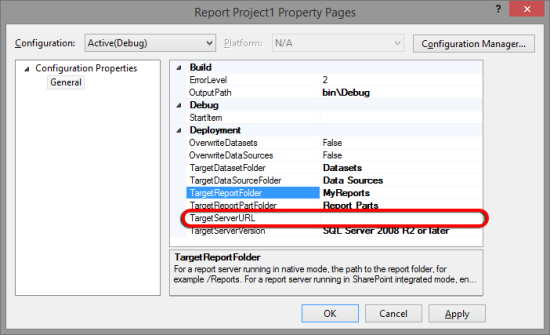
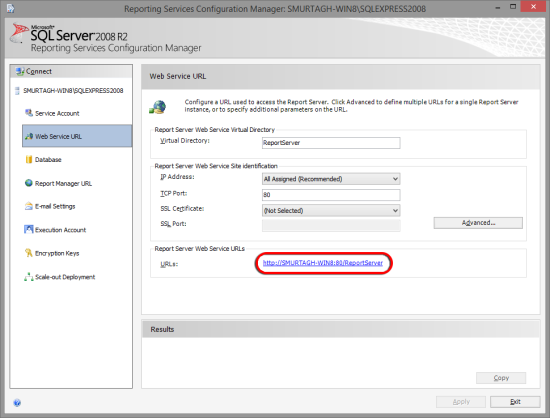
If you don’t know what your TargetServerURL is, start your instance of Reporting Services Configuration Manager and click the Web Service URL tab. The URL you need is in the Report Server Web Service URLs section.
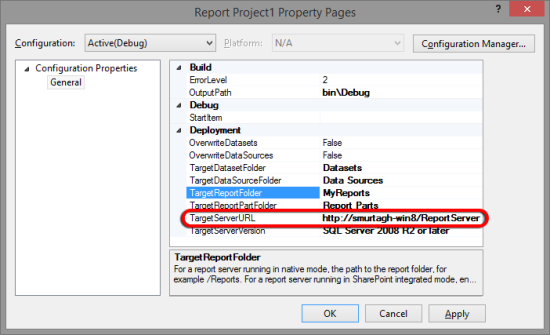
Return to the Property Pages box, enter the above URL as the TargetServerURL, and click OK.
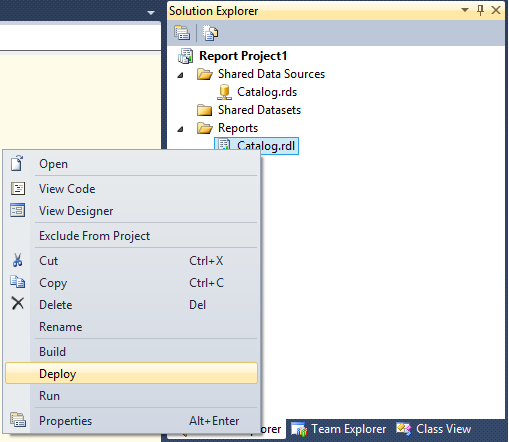
Now you can right-click on either your project or any single report and click Deploy.
Keep an eye out for Errors and Warnings in your Output window.
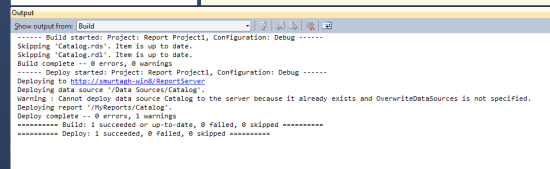
In this case, notice that I have a warning regarding my Data Source, stating that it already exists and it will not be overwritten. This is a handy feature when deploying to multiple environments because it prevents you from accidentally overwriting your connection strings. If you want to deploy your Data Source every time, just set OverwriteDataSources to “True” on the Project Properties that we referenced above.
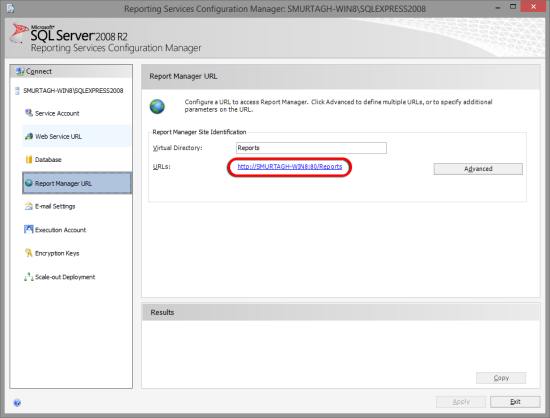
Now all we have to do is verify that our reports made it to the server and that we can execute them. To get the URL for previewing the reports, open the Reporting Services Configuration Manager, click the Report Manager URL tab and copy the Report Manager URL.
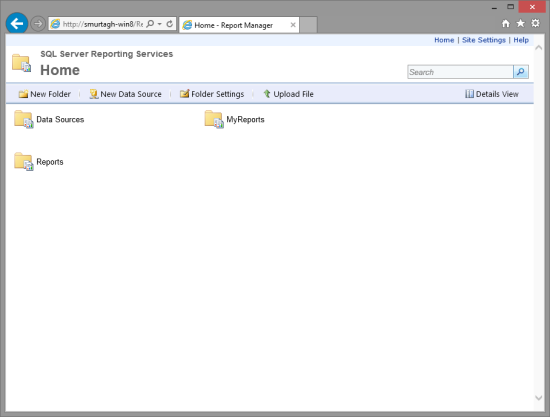
Open that URL using your favorite browser Internet Explorer. Note how the Data Sources and MyReports folders are created as we specified on our Project Properties.
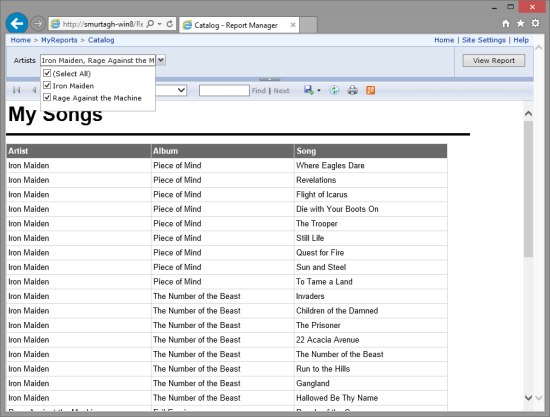
Navigate to the MyReports folder, click on your report, and you should be able to execute it right there in the browser to make sure everything is working before implanting your report inside your application.
There you have it. That’s all it takes you get your reports on the server. Look for our next post on how to get these reports implemented on your Windows and web apps.