

Sending Emails with Azure Communication Services
Sending emails is a pretty known technical space. Many of us have sent emails using a variety of services. One you maybe haven’t tried is Azure Communication Services, which is still in preview at the time of this blog post.
Here’s how you set up Azure Communications to send emails from your applications.
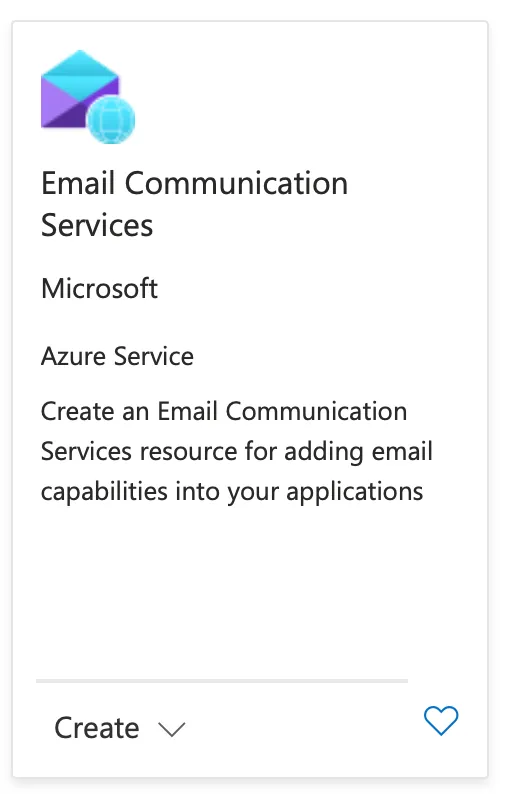
Create a new Azure Communication Service using the Azure Portal.
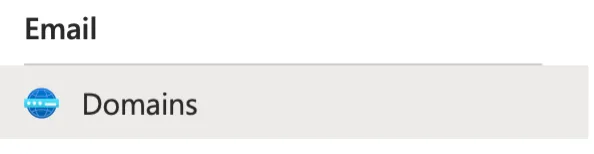
You will need to connect a domain to this email service. This is done using the standard verification of domain techniques you are probably familiar with from other services. This is often done by adding TXT records to your domain in DNS.
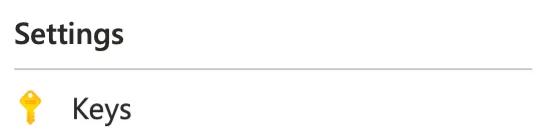
Then get the “key”, which can be used to send emails. You can get this key using the Azure portal. For this example, we won’t take the key but instead use the connection string. The connection string allows us to connect to Azure Communication services using a single string.
Now we can add email sending to our .NET project. First, add a reference to “Azure.Communication.Email” to your existing dotnet project.
dotnet add package Azure.Communication.Email
Sending an email is pretty straightforward. We create an email client and then call the send function. It’s that simple.
There’s not much to sending emails using Azure Communication Services. Feel free to give it a try. If you find this helpful, please follow me on Twitter at @chadmichel.


