

Top to Bottom with Angular and .NET Core
Building modern software often involves a Single Page Application (SPA) calling to a backend service. This is pretty straightforward, but there are more steps than you would expect. In this blog post, we will walk through creating an Angular application that calls a .NET Core backend.
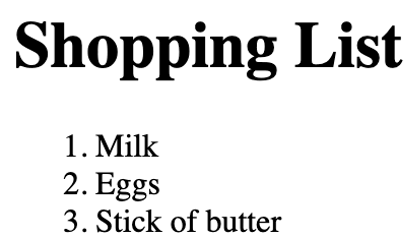
Step 1 – Create a very simple HTML web page for a shopping list
Install the http-server npm module. This module makes hosting a static site very easy across many platforms.
npm install -g http-server
Now we need to create a simple HTML page to display a shopping list.
Run the node http server. This will run a lightweight server that is easy to start and stop.
http-server
Step 2 – Re-create the shopping list as an Angular application
Install Angular.
npm install -g @angular/cli
Create a new Angular project.
ng n ShoppingListAngular
Change directory into the directory for the Angular application.
cd ShoppingListAngular
Run the Angular application.
ng serve
Open your web browser to http://localhost:4200/.
Let’s add a new component to our Angular Application
ng g c MyList
Open the source code for the Angular application in VS Code and simplify the app.component.html
Create a new default route for the MyList component. This is done by modifying the app-routing.module.ts.
Modify the my-list.component.html file to display a shopping list.
Refresh the web page in your browser.
Step 3 – Use data binding to display the shopping list
Add a new file to your Shopping List Angular application. This file will be the Data Transfer Object used to pass data to our UI component.
Generate a service for backend communication.
ng g s Backend
Modify the backend.service.ts file to return some static fake data.
Modify the component TypeScript to call the backend service to get the data.
Modify the template to use databinding to display the data.
Step 4 – Create a .NET Core Backend to return the shopping list
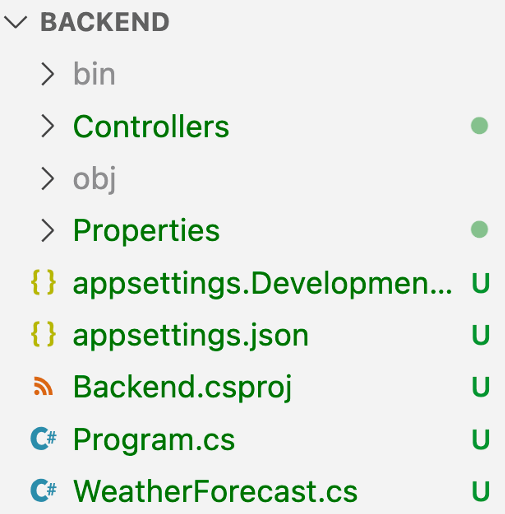
Create a new .NET Core project.
dotnet new webapi -n Backend
Add a DTO for the shopping list items.
Create a new ShoppingListController in our .NET project. Controllers should go in the Controller folder.
Because our Angular application will be running on a different hostname, we will need to enable CORS. We should only enable CORS for the hostname of our Angular application, but for this simple demo we will enable CORS for all domains.
Why do we have to do this? What is CORS? CORS is a security mechanism that browsers use to help prevent malicious scripts from running code without a user’s knowledge. With CORS, we restrict our applications as much as possible.
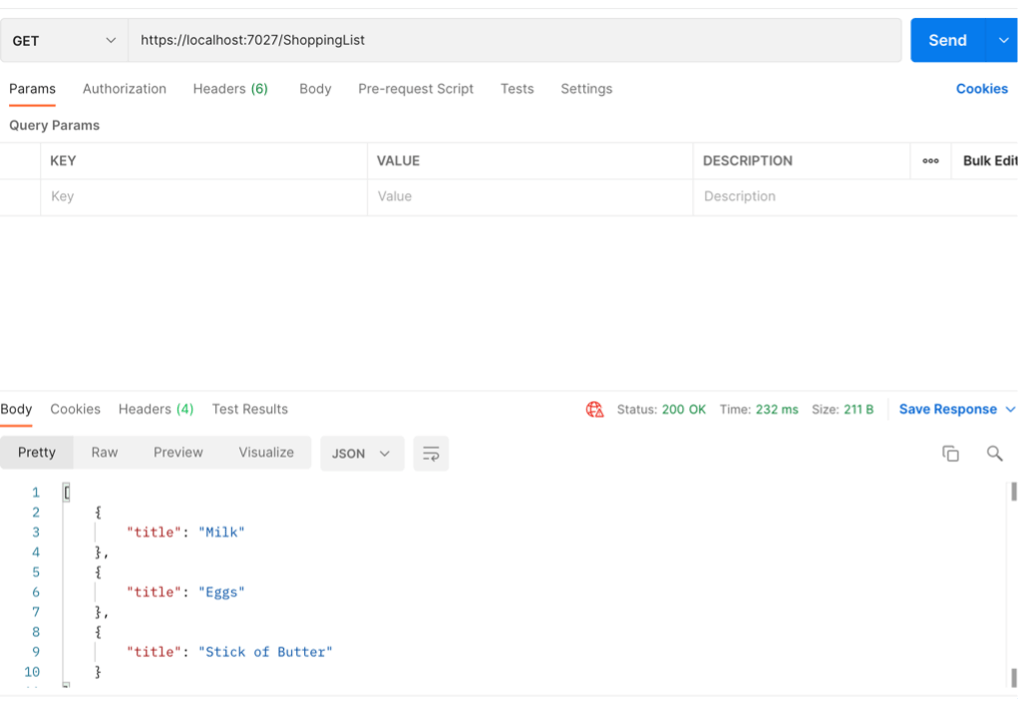
After we have the Shopping List controller, we will test the controller using Postman by running the application in VS Code.
Run the Postman application to create a request that runs against “https://localhost:7027/ShoppingList”.
Step 5 – Wire up the Angular application to the .NET backend
Modify the Angular app.module.ts file to include HttpClientModule.
Modify the Angular backend service backend.service.ts file to call our .NET Core backend.
Now we have an Angular application calling a .NET Core application. It took a lot of steps to get this going, but this same pattern can build a lot of software.


