How to Set Up a New Vue App
After being out of the loop for the last couple of years on advances in unit testing for component-based web frameworks, I have been pleasantly surprised at the experience and value available in unit testing my front-end code. In this blog post, I am going to walk through how to set up your first Vue application and first unit test.
Jumping right in, we need a project in place before we can set up testing (or write our first unit test).
To install Vue:
npm install -g @vue/cli
To create your first Vue project, navigate to the directory you want the project to be in and open PowerShell (make sure that your permissions are set to allow script execution) and run:
vue create vue-testing-demo
This will take you through a command-line wizard. From here, you can select one of their presets or manually select your project setup options. One thing of note is that Vue2 is JavaScript-based by default, whereas the newer Vue3 is Typescript based. If you aren’t ready to be on the bleeding edge with Vue3 but still prefer Typescript, there is an option to convert your Vue2 project to Typescript by running:
vue add typescript
At this point, we have a stock Vue application in place. The documentation for creating a new Vue application is fantastic, so for any additional questions I would point you to their guide.
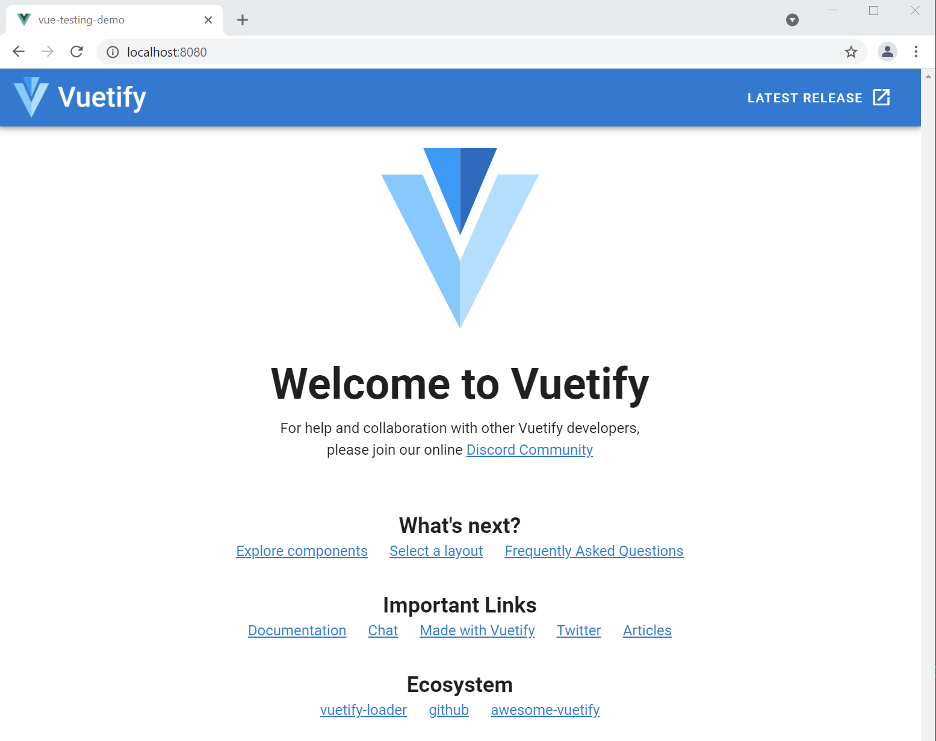
By navigating into the correct directory and running the following commands, we can start the development server and load using our launch configurations.
cd vue-testing-demo
npm run serve
Now, I sometimes like to be extra-fancy by installing Vuetify. This material-based component library can do a lot of the design and experience heavy-lifting for your standard controls. To add Vuetify to your project, simply run and again run through the command-line wizard options (for this project, I chose the default for Vue2):
vue add vuetify
With your Vue application set up with Typescript and Vuetify, we are ready to start scaffolding in the pieces for unit testing.
Set Up Testing Library and Jest in a Vue Application
Now that we built our Vue application, let’s make it so we can run a test using the included Vue utilities. Because we used the Vue CLI to build our project, this is as simple as running in your project directory:
vue add unit-jest
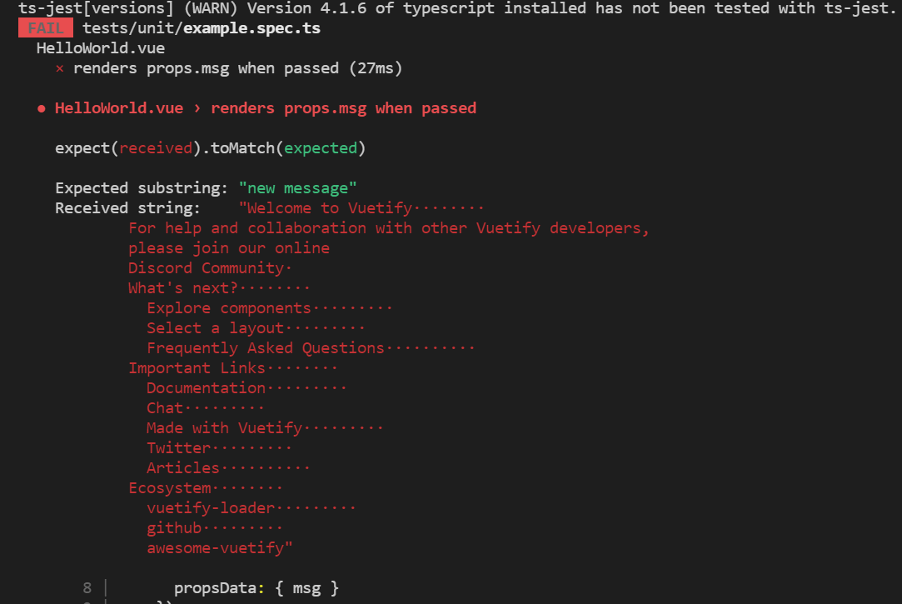
After running this command, you should see the package.json file updated and an example.spec.ts test added to your project.
To run the unit tests (which at this point is just our example) from the command line, we can use “npm run test:unit.” If you installed Vuetify as part of the project setup, your tests at this point would fail because Vuetify changes the default welcome message.
Instead of fixing the example test as-is, let’s install some libraries to make our lives easier and use those to update our test.
The Testing Library
While the testing utilities baked into Vue give us the means to test individual components, I still found myself feeling like it should be easier. It turns out I am not the only one feeling this way as Vue has a list of recommended libraries that extend the vue-test-utils. I found the Vue Testing Library particularly great to work with. This library is part of a larger project called the Testing Library that has a mission to be “simple and complete testing utilities that encourage good testing practices.”
While I am not sure I have completely bought into all the principles and ideals set forth by the Testing Library, I am a huge fan of their tools and how much easier it makes testing on the front-end. They already have tools available for a variety of frameworks, including Angular and React.
So how do I make the testing-library tools available in my Vue application? Simply install the library with:
npm install --save-dev @testing-library/vue
With the tools installed, let’s update the HelloWorld example.spec.ts file.
First, we will update the import to use @testing-library/vue instead of the default utils.
import { render } from '@testing-library/vue'
Then, instead of doing a shallowMount in our tests, use the testing libraries render wrapper. As a first pass on tests, I like to use the debug() function to show the rendered component in your debug console. This is quite helpful when trying to get your bearings initially. I would not leave a debug() in the final version of a test, but it’s helpful to get a peek at what the test is seeing.
If I run this test now, it will technically pass because we don’t have an assert failing, but it’s really just spitting out what is on the page and an assortment of Vuetify warnings.
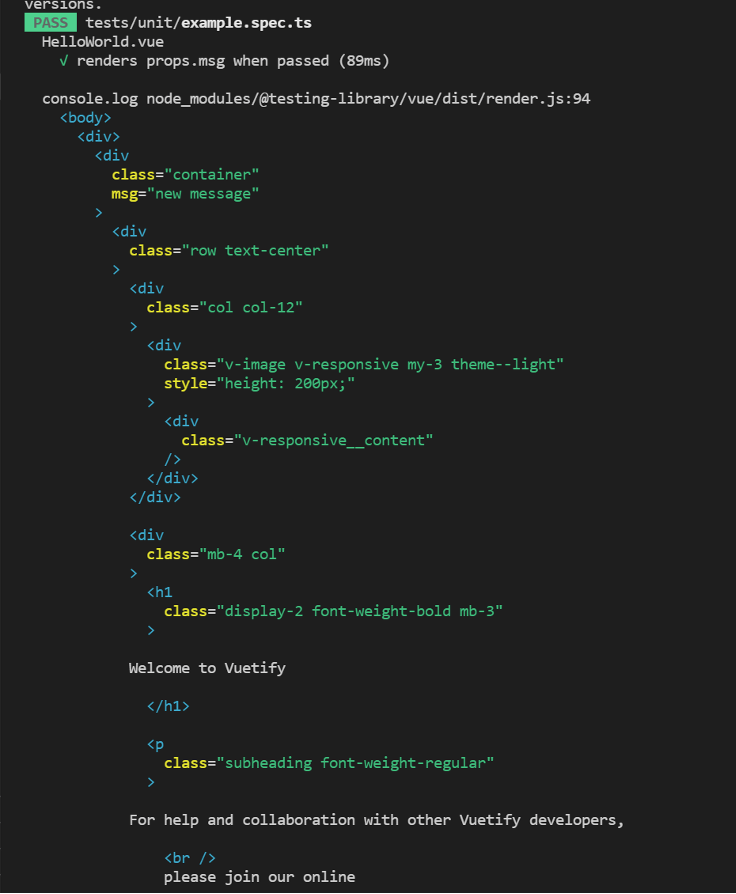
To get rid of the Vuetify warnings, we need to tell our test about Vuetify by updating our test to be:
Now, our output should look something like this:
Finally, to give our test a real assert, we can change our debug to a getByText, which will throw an error if it cannot find the text – effectively giving us our assert.