Configure SQL Server Column Encryption with Azure Key Vault
The Legend of Zelda: A Link to the Past is my favorite Zelda game. Actually, it is one of my favorite games of all time. In my opinion, it is nearly perfect. It’s not too difficult, but it also makes you work. Lots of things to do. Nice 2D graphics. Just a very enjoyable game.
With A Link to the Past, keys open doors to the next areas and, eventually, you need a “master” key to enter the next dungeon.
SQL column encryption reminds me a bit of A Link to the Past. In order to encrypt certain columns, you need a “master” key to encrypt a column.
Sounds just like the game, right?
Well, they are nothing alike, except they both have the word “key” in them. SQL column encryption can be fairly difficult and not fun at all. In this blog post, I will try to help guide you so you can survive.
Prerequisites
- Database with a column you want to encrypt
- SQL Server Management Studio
- Azure
- Azure Key Vault
- Enough permissions to pull this off
Level 1
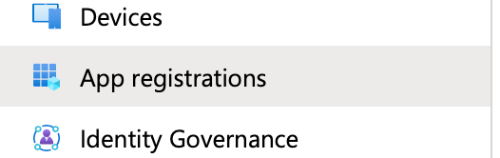
Log into Azure (https://portal.azure.com) and go into Active Directory. Within Active Directory, find the App Registration navigation, and go into App Registrations.
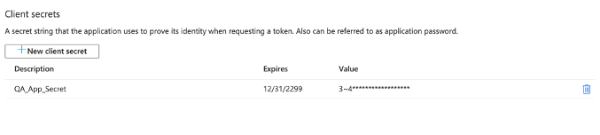
Create an app registration, and then create a “Client Secret”.
You need to save this client secret after you create it, you won’t be able to get it back. The client secret is the key to the next level of the dungeon, Level 2. You also need to copy of your App Registrations client ID (Application ID) from these screens.
Now that we have made it through the first level of the dungeon, we need to move to Level 2 – SQL Server Management Studio. Here is where we encrypt the column.
Level 2
Fire up SQL Server Management Studio.
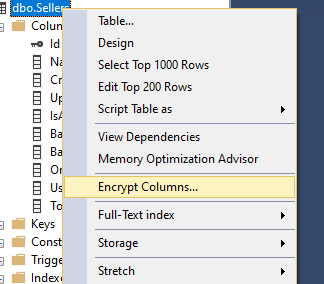
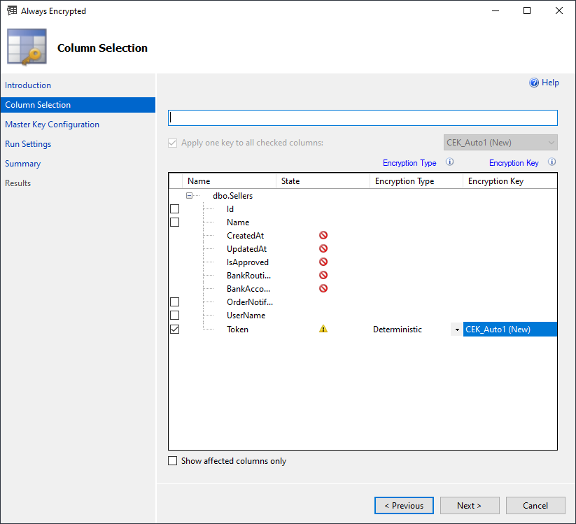
Right-click on the table where the column you want to encrypt resides and click “Encrypt Columns”.
Configure column encryption on the “Token” row and click Next. The choice between the Encryption Types of “Deterministic” and “Non-Deterministic (Randomized)” depends on what you want to do with the encrypted data. Deterministic will always generate the same encrypted value for a given input. This would make the content comparable to content that has the same value. Randomized will create a new encrypted value for the same text each time. Randomized is more secure but will be more difficult to work with.
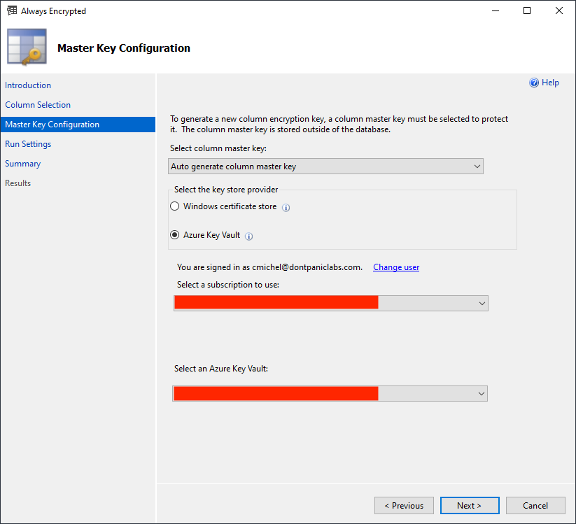
Select “Azure Key Vault” and click Next.
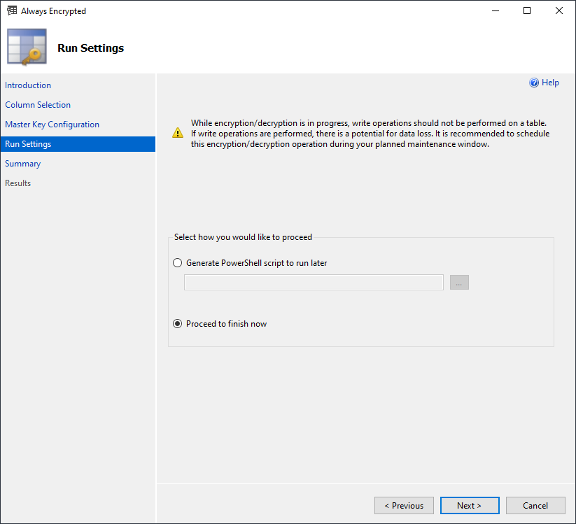
Select “Proceed to finish now” and click Next.
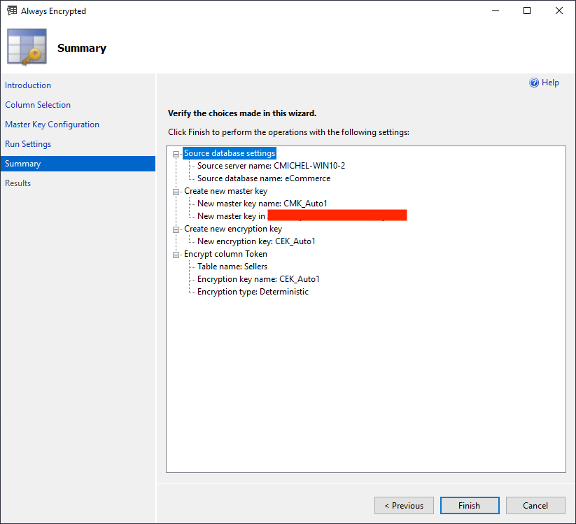
Verify all the selections you made and click Finish.
The above will only work if you have the appropriate security access to the Key Vault. If you don’t, you will need a Power Glove to lift the necessary rock and create the encryption key. To do this, we will return to Level 1 (Azure portal).
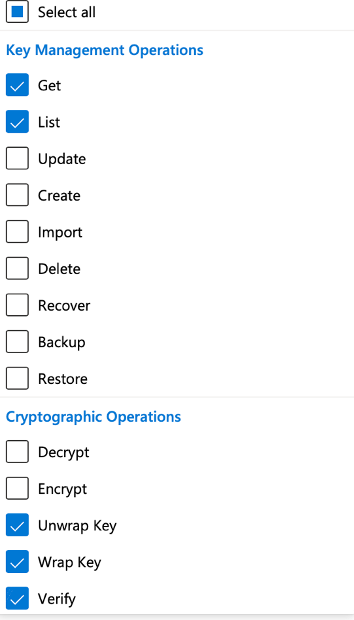
You obtain the Power Glove by giving you user enough access in the Azure portal. This is done in the Key Vault itself. Find your user and make sure you have enough access. Go to “Access Policies” in the Key Vault. Find your user and click on your permissions.
You will need the following Cryptographic Operations to have a fully functioning Power Glove.
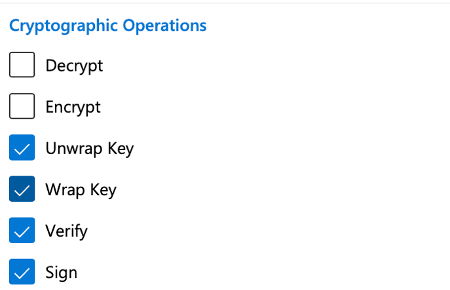
Once you have the Power Glove, you can go back to Level 2 (SQL Server Management Studio) and complete the operation.
Level 3
Now for the fun part: hooking this up with code. First off, let’s make sure your connection strings are up to date. To do this, find wherever you are storing your connection string, and make sure it has “Column Encryption Settings=enabled”. If it doesn’t have that, it won’t work.
Now that we made it past the connection hurdle, we must make it past the code challenge. To do this we will need a boomerang, which we will get by doing some Azure configuration stuff in our DbContext class.
Boss Battle
Now that you have wired up everything in the database context, you should be ready to do battle with the final boss, which is testing. Hopefully, everything will just work out. But if not here are a few things to think about. First off make sure you have your connection string set with “Column Encryption Settings=enabled”. Column encryption won’t work without that.
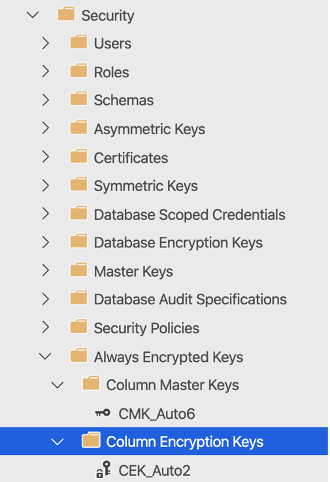
Next is making sure you actually have the master and column encryption keys in SQL Server. You can do this by looking at the security section related to your database in SQL Server Management Studio.
Last, we need to check permissions for your app registration. Your app registration needs to also have access to the key in the Key Vault.
Configuring column encryption in SQL server is a pain. There are lots of pieces to get right before it will work. But it enables something really awesome: a column in your database can only be read/write with a key that is not in the database. That means if your database is accessed by someone that doesn’t have that key, they won’t be able to access that column.
Power. Tri-force power.
It’s dangerous to go alone. Take this.