Quick Look – AWS Cloud9
As I wrote in Part 1 of my REST API with AWS series, development coding shouldn’t happen within the browser due to the lack of good practices such as reuse of functions, source control, and continuous integration.
But there is a slight caveat to that: AWS Cloud9.
With this service, we essentially get a development environment in the cloud.
Here’s how to set it up.
After you are logged into the Cloud9 site, click the “Create environment” button. This will create what is basically an EC2 instance.
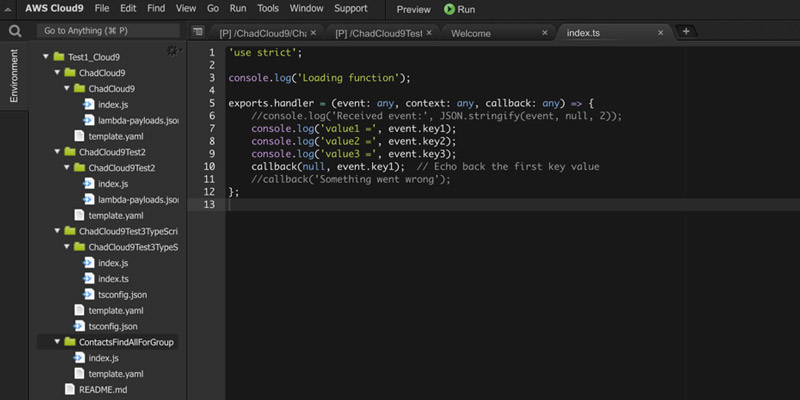
Cloud9 gives us a basic set of development tools to write, run, and debug your code — but it’s also fully capable of allowing you to develop with TypeScript if you want.
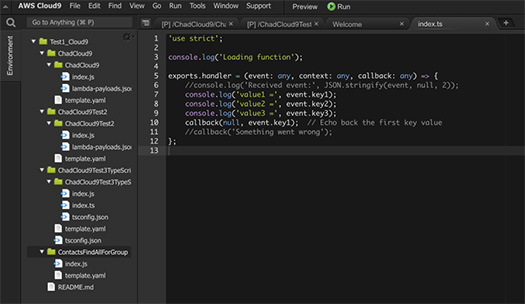
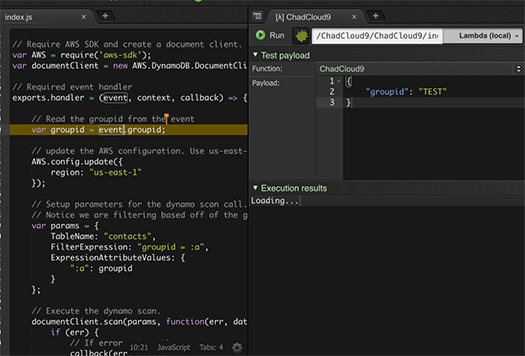
Another great thing about using the Cloud9 development environment is you get debugging of your Lambdas right in the browser. In the image below, notice that we are running a function, but it is paused on the line “var groupid = event.groupid;”.
Another awesome feature of Cloud9 is that it can integrate with source control. To do that, go to the “bash” terminal at the bottom. From there, you can issue standard git command lines. To push your source to an existing git repository, you will just need to use the following:
git remote add origin <>
git push -u origin --all
The AWS serverless development experience is a lot different than the standard ASP.NET experience we are used to. That doesn’t mean it is worse or better, just different. While I feel that using Cloud9 would be a good choice when working on a small system, I wouldn’t want to use it for a large backend system.
Have you tried Cloud9 yet? If so, I’d love to get your thoughts. Sound off in the comments below and hit me up on Twitter.