Using Vue CLI
In my previous post, we stood up a Vue.js site as a single-page application where the entire site was a single index.html file. In this post, I am going to use the Vue CLI to scaffold out our solution a little more.
First, we will need to install the Vue CLI.
sudo npm install -g @vue/cli
After doing that, we can create a Vue.js project.
vue create vue-test
Here’s how to run the project.
cd vue-test
npm start
This solves a few problems for us. For one, it gets a lot of files created for us. While this isn’t a lot of work in most cases, it is handy to get some sample code to start with.
Also, starting with the Vue CLI makes it easier to do things like adding in TypeScript or making your project into a progressive web application (PWA). I personally feel that the Angular CLI gives you a more complete starting point, but it also seems to follow a more minimalist theme.
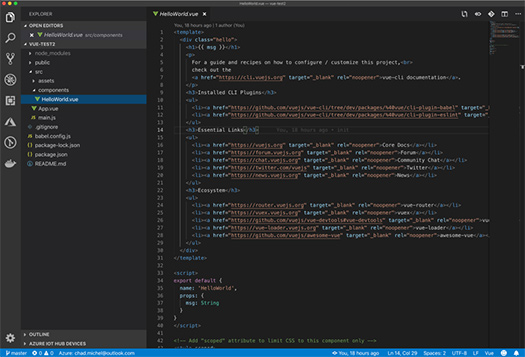
You can look at the structure created by the Vue CLI by opening the directory in VS Code.
Using the Vue CLI doesn’t do as much as the Angular CLI. It does not have the abilities to create new view components or services. However, the Vue CLI does give you a project that’s set up and ready for you to add code. You will also get an easy hosting model “npm start” and an easy build model, “npm build”. If you are familiar with Angular, this is a lot like “ng serve”.
The Vue CLI feels pretty light compared to other CLIs that I am used to. For example, the Angular CLI gives you a rich set of commands that makes it easy to extend your application in predictable ways. The Vue CLI seems to have a different philosophy, a less-is-more way of going about a project. I personally like the more complete approach of the Angular CLI, but there is something to be said for less.
If you have any questions or comments, hit me up on Twitter or sound off in the comments below.