
Azure’s Container Registry with Docker (Quickstart!)
If you’re wondering how to best leverage your Azure account in the midst of containerizing all your things, then you’re in luck. Azure’s got you covered.
In this article, I’m focusing on Azure’s container registry, because I think it will fit into my workflow a little better than other container repositories like Docker Hub. Personally, I’m looking forward to integrating this into my Visual Studio Online builds (they recently added build steps – currently in “Preview” mode – for Docker image management that I’d like to check out).
Prerequisites: you must have Docker installed as well as the Azure CLI (https://docs.microsoft.com/en-us/cli/azure/install-azure-cli).
For what I’m showing here I am assuming a little familiarity with the Azure portal and Docker. If you would like a nice quick tutorial to get up and running with an ASP.NET Core Docker container, I suggest you start with this https://dev.to/schwamster/docker-tutorial-with-for-aspnet-core before continuing on. I’ll be using a simple ASP.NET Core Web API container to test this out, but any container will do just as well.
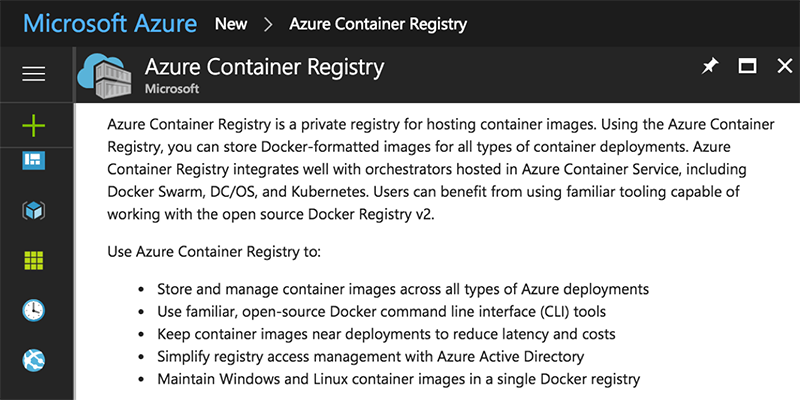
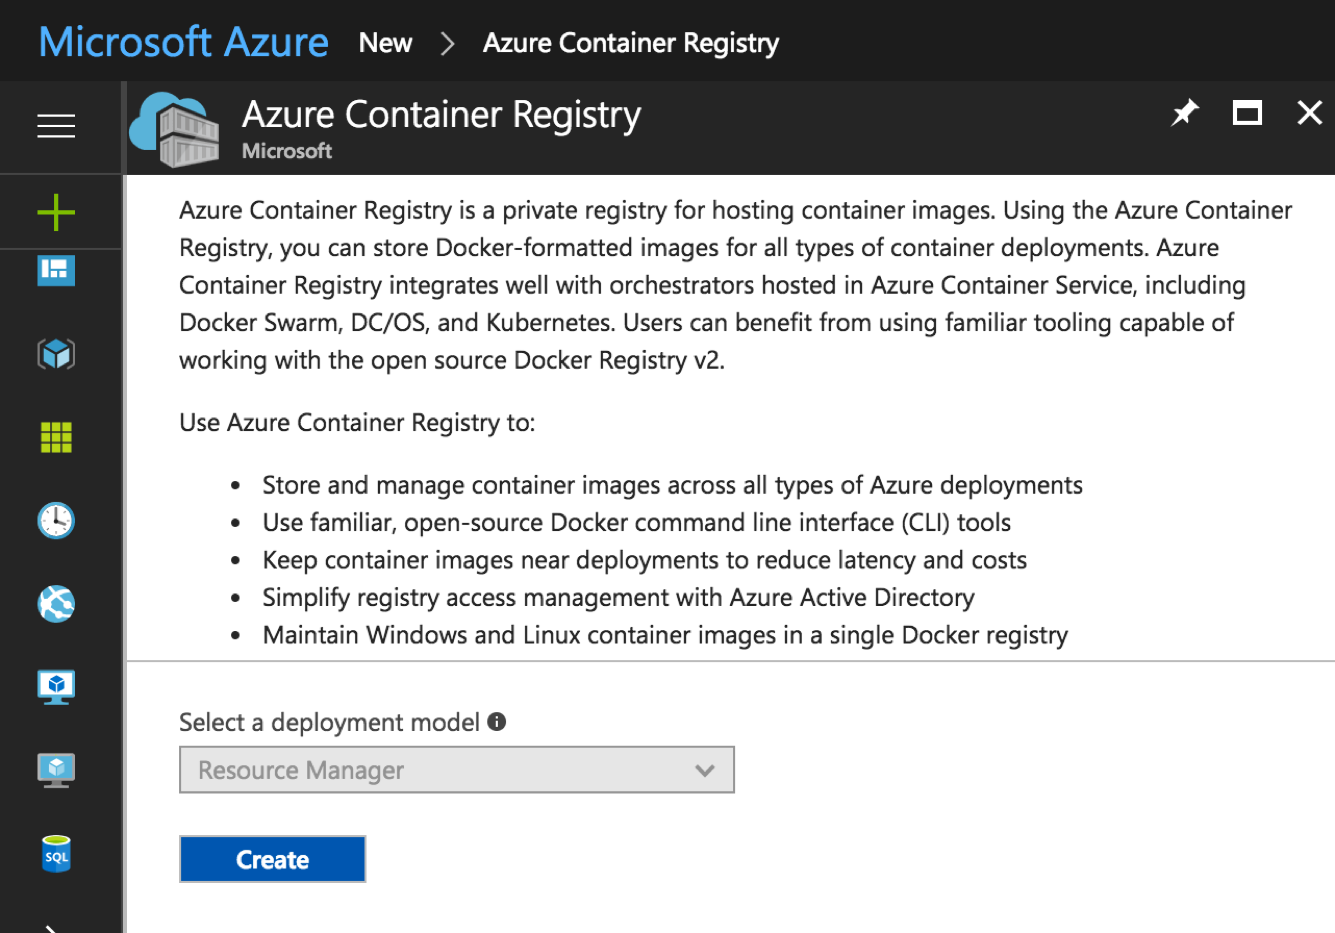
Let’s say you’ve already got a Docker container and you’d like to utilize Azure’s Container Registry for private container management. The first thing to do is to open up the Azure portal and go through the registry creation steps.
Once created, you’ll need to create a service principal and assign access to the registry. This service principal will be used by Docker to access the registry that was just created. To do this from the Azure CLI, run the following command (needs to be on one line) after inputting your subscription id, resource group name, container registry name, and password:
For more information on this process, check out the Microsoft docs: https://docs.microsoft.com/en-us/azure/container-registry/container-registry-get-started-azure-cli#assign-a-service-principal.
Upon success (it may take the CLI a few attempts, be patient!), you should receive a response that looks a lot like:
Important: you will need the appId from this response shortly.
In the Azure Portal, navigate to the container registry. In the registry’s sidebar, you will need to navigate to the Access keys under Settings and click “Enable” under Admin user (this is necessary to log in with Docker). Under the Access Control (IAM) tab, you should see the owner that was created in the previous step.
With the setup complete, all that’s left to do is push and pull containers from the Docker CLI. To do this, log in to the Azure container registry from Docker using the appId returned from the service principal creation above:
Now tag the container you would like to push to Azure with your registry’s path:
And push it:
That’s all there is to it! Now running your container from the Azure registry is as simple as a docker run (more info on Docker run here: https://docs.docker.com/engine/reference/run/):
I think that’s pretty cool!


