
A Website Without Servers – Using Azure Functions: Part 2, Source Control
In Part 1 of this blog series, we set up some basic pieces for our engineer fashion application. In Part 2, we are going to add some source control to the process.
Why source control? If step 1 of software development is having a plan, then step 2 is implementing some kind of source control (and emailing files isn’t source control).
Source control facilitates:
- Tracking changes to source
- Multiple people working on the same source
- Allows for seeing differences between changes
- Prevents you from losing your work
The only time you shouldn’t use source control is where you don’t care about what you are producing. If you care, use source control.
Now with Azure Functions you might be tempted to not use source control because the UI gives you a place to just push in code, but do you care about the work? If so…
Normally I like to have only one repository for a project. I think two tends to be confusing. This project has two distinct parts, and we will keep them under source separately: Angular front-end and Azure Function back-end. Keeping them separate will also make it easier because an Azure Function solution in source control expects a particular layout, we don’t want to force that layout upon our Angular web app.
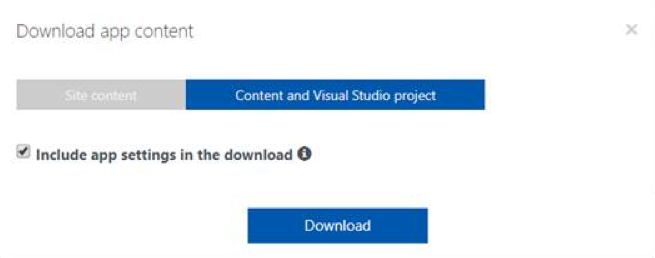
1. Get the source we created in Part 1 from the Azure portal. Select the Azure Function and select Download App Content. Make sure you select Content and Visual Studio Project and then click Download on the popup menu.

2. Set up a Visual Studio Team Services account. Go to VisualStudio.com and click Get started for Free.

3. After your free Visual Studio account is set up, create a new project and clone the repository down to your machine using git.
There are a lot of things going on in this step. Git is a complex subject, greater than a single blog post. For now, I will trust that you know what you’re doing here. Create a project in VSTO and download the repository to your machine.

4. Git clone YOUR_REPOSITORY_URL.
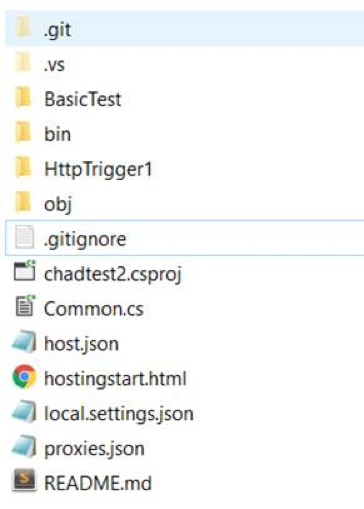
5. Copy the contents we downloaded in step 1 and put them in the directory created during the git clone in step 4.
6. After copying the files, run the following commands from a git command window.
git add –all
git commit -am “put in source from azure”
These will create a commit into source control. Basically, a point-in-time version of the code.
7. Push the code to Visual Studio Online (VSO).
git push
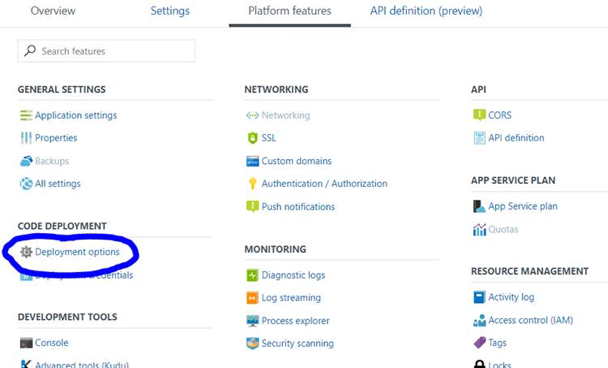
8. Click Deployment options under Platform features.
9. Click Setup.
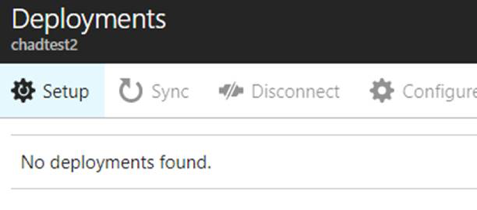
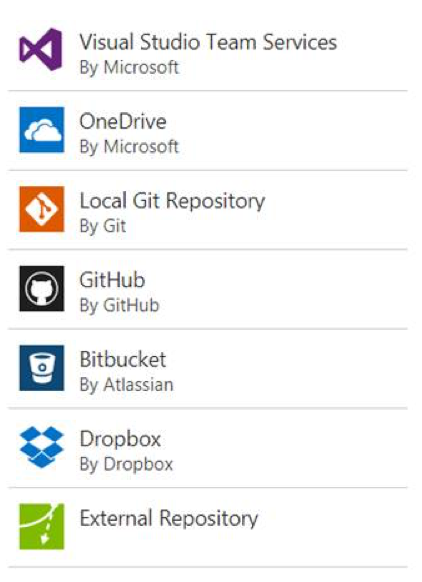
10. Select Visual Studio Team Services.
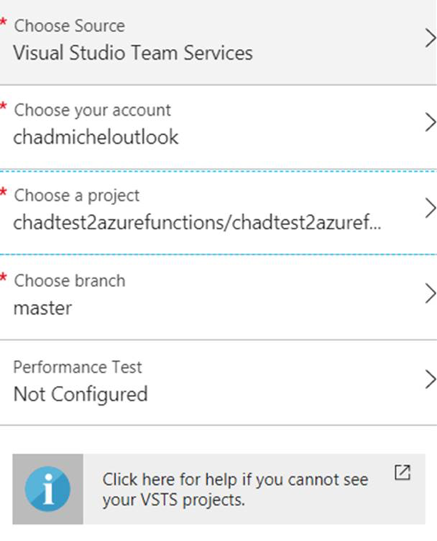
11. Choose your Visual Studio Team Services project.
Anytime you push a change to this git repository, your Azure Function will update. We can always revert to a previous version if we mess up.
Note: If you take another look at the directory, you’ll notice that there is a proxies.json file. That file contains the proxy we configured in Part 1.

Now we have another repository to deal with. We have the back-end Azure Functions, but we also the index page that contains the word “hello” (we couldn’t create that a second time :)).
12. Go to VSO and create another project for your front-end. Do the same git pull as you did before.
git clone YOUR_REPOSITORY_URL_FOR_FRONT_END
13. In the second directory you created on your machine, drop in the index.html file created in Part 1. Then do the usual git ceremony and push the changes up to VSO.
git add –all
git commit -am “put in source from azure”
git push
Now we have the front-end and the back-end under source control.
Next Steps
We are going to use Angular to set up a very simple website for our engineer fashion app.