SQL Aliasing – Why You Need It
Quick word on Aliasing.
In the past few months I have come across a SQL issue that occurs in many different configurations, across various physical locations, and amongst several engineers. Since it was so prevalent I thought it might be helpful to talk about aliasing SQL instances.
When you install a SQL instance, no matter if it’s ExpressXX or ServerXX (XX-Year/Version), you are asked to name the instance. A default could be “SQLExpress2012” for SQL Express 2012, and you would access it with the following address: localhost/SQLExpress2012 === ./SQLExpress2012.
So far there is nothing special here…you get to access your instance as you would expect. Great!
Now the issue.
For example, a team of engineers is working on the same project. Everyone has their own preferences and settings for their environments. Sometimes it is the “default” environment where there haven’t been many changes on the machine. Sometimes they are highly customized for different reasons. Engineer A installs SQLExpress2012, but names their instance “.\MySQLInstanceForProjectA”. Engineer A is also the person who sets up a database connection within the project in a source-controlled repository (such as GitHub or VSOnline). What does everyone else on the team do? Do they have to change the connection string for their local environments?
That’s an option, but what happens when they check in changes and merge with the base? What happens to that connection string? It either overwrites changes in the base or is overwritten by the base. Either situation means a user has to make changes to a configuration after each checkout/merge or the code. This seems very redundant. Thankfully there is an easy fix: aliasing.
Working with the above example, let’s say the connection is defined with the instance name “.\MySQLInstanceForProjectA”. The connection string would look like this:
Data Source=.\MySQLInstanceForProjectA;Initial Catalog=SmartGlobal;Integrated Security=True
When Engineer B pulls the code with this connection string and tries to run it on their machine, it will most likely not be able to connect to the database. So let’s alias this instance.
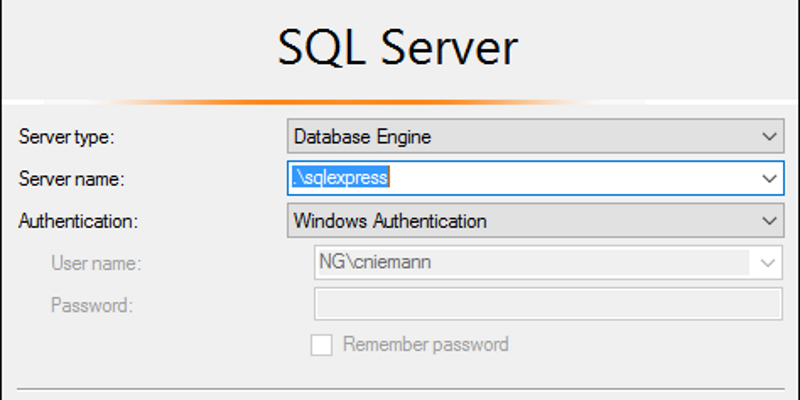
Before we begin, we need to know a current running instance on our machine (an existing alias would also work). Let’s assume “.\SQLExpress2012” is that instance. To ensure it actually is available, try to connect to it. For example, let’s use SSMS:
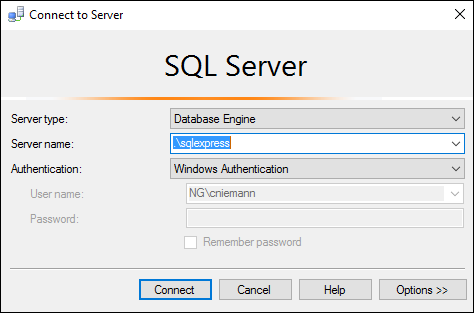
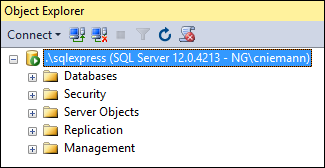
It exists. Yay!
If you try to connect to instance “.\MySQLInstanceForProjectA” you should see an error similar to this (after some loading time):

Now to the fun part. Let’s add an alias. Open the Sql Server Configuration Manager.

We will add two aliases (depending on your version, you may have a slightly different version number in the strings below).
- Expand SQL Native Client 11.0 Configuration (32bit) and click Aliases.
- I have seen issues when using more than one alias at a time. I am pretty sure it’s an issue with the port numbers. For simplicity use only one alias for the 32-bit version, the 64-bit version should have an alias for ‘.’. Here you can add one additional alias.

- I have seen issues when using more than one alias at a time. I am pretty sure it’s an issue with the port numbers. For simplicity use only one alias for the 32-bit version, the 64-bit version should have an alias for ‘.’. Here you can add one additional alias.
- Right-click on Aliases or right-click in the Aliases window and click New Alias….
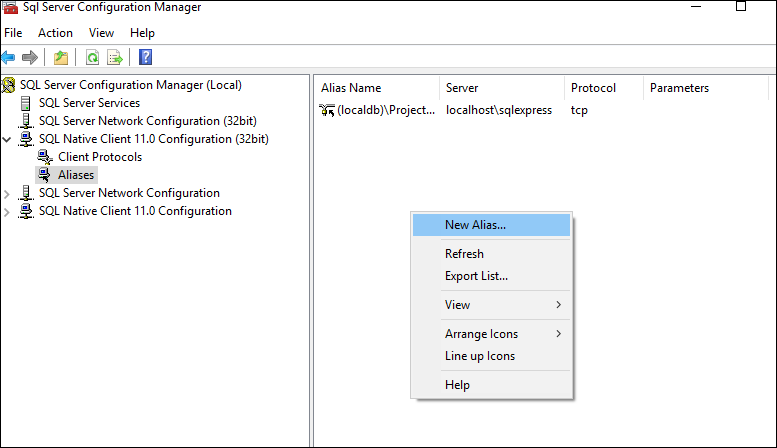
- The New Alias box displays. Specify the Alias Name and the Server. Set Protocol to “TCP/IP”. Click OK.
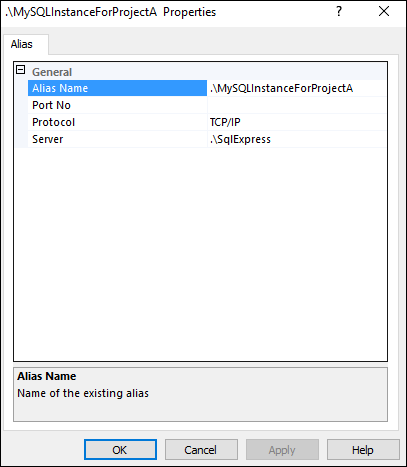
- To add the second alias, repeat steps 2-3 under SQL Native Client 11.0 Configuration. We need to add both to make sure all our programs can connect to the instance, no matter if they are 32 or 64-bit versions.
- Restart the SQL Service (this should be the instance you routed the alias to, in this case “SQLExpress”.
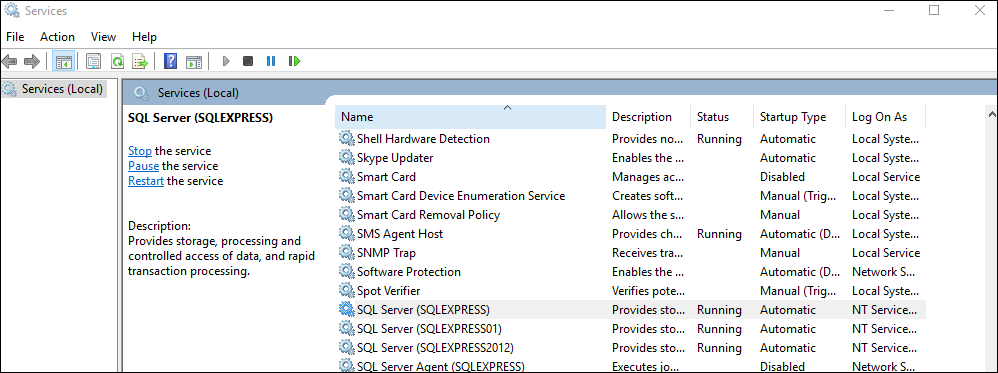
- Make sure your SQL Server Browser service is running.

- Try to connect to the “.\MySQLInstanceForProjectA” instance.
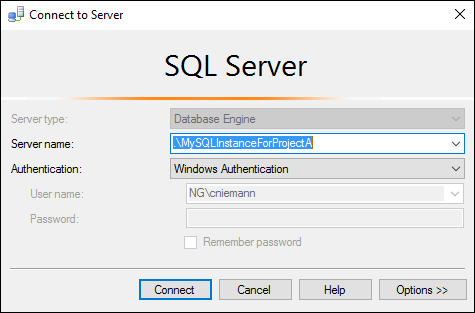
- In some cases, the TCP/IP protocol is disabled by default. To enable it, right-click on your SQL instance under SQL Server Network Configuration, click TCP/IP, and select Enabled. Then restart the service.
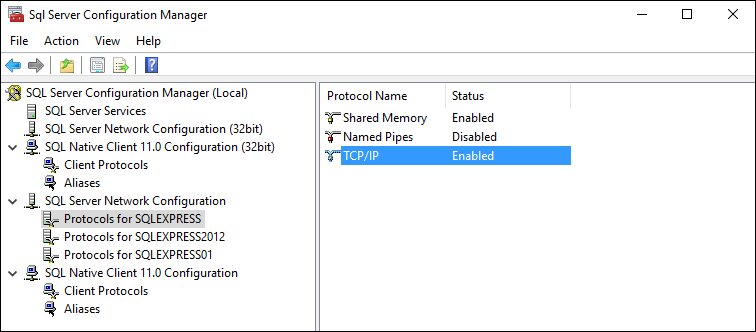
- In some cases, the TCP/IP protocol is disabled by default. To enable it, right-click on your SQL instance under SQL Server Network Configuration, click TCP/IP, and select Enabled. Then restart the service.
Voila! Now you can access your SQL instance with the configuration from a different machine, and you won’t have to change it again for this project.


