Setting Up Octopus Server
It may seem like I’m doing a lot of setup lately (see my last post on setting up Continuous Integration). And part of that is true, but I’m also coming up against the realization that so many of the systems we need to stand up are never documented enough to get you through some of the gotchas that just make your day terrible.
Octopus Server. I imagine that most of us have had to set it up. And most likely we “trial-and-error”-ed our way through particular steps until it was working. I hope that this post saves someone the trouble of that and can give a clear path towards a successful installation.
Components Needed
Before starting your installation of Octopus Server, make sure you have the following components downloaded and handy:
- Microsoft SQL Server 2016 Express
- Microsoft SQL Server Management Studio
- Octopus Server
- Octopus Tentacle
Install Octopus Server
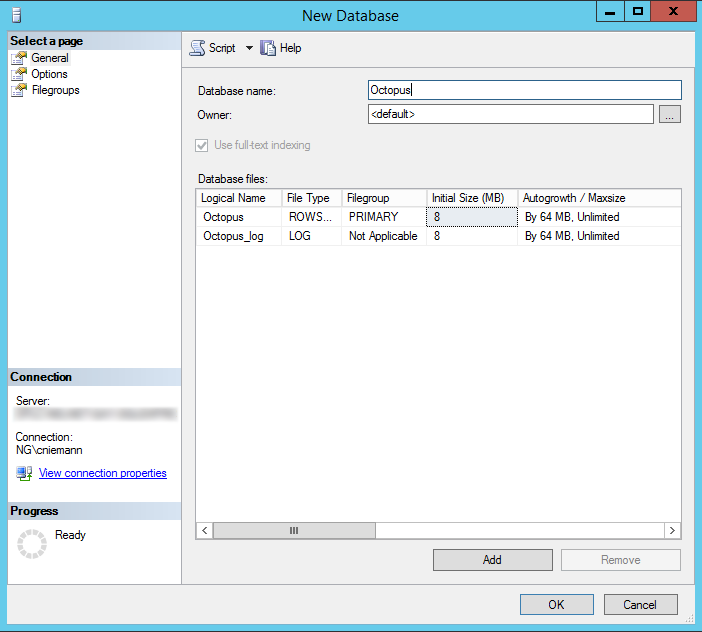
- Launch SQL Server Management Studio to create an Octopus Server database.
- Run the Octopus Server installer.
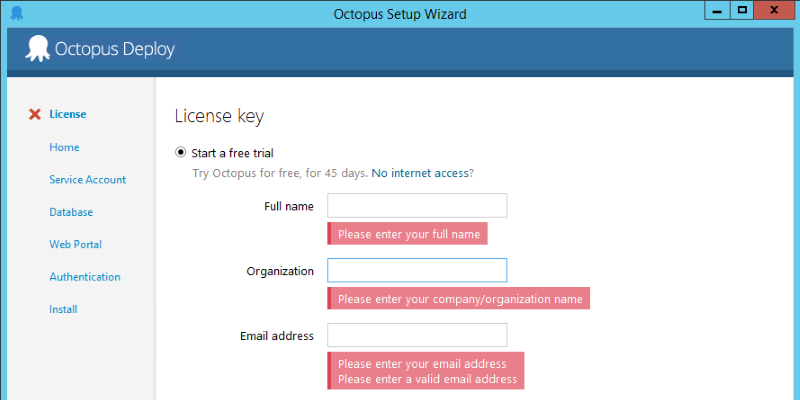
- The License key box displays. Set up your free trial or enter your license key. Click Next.

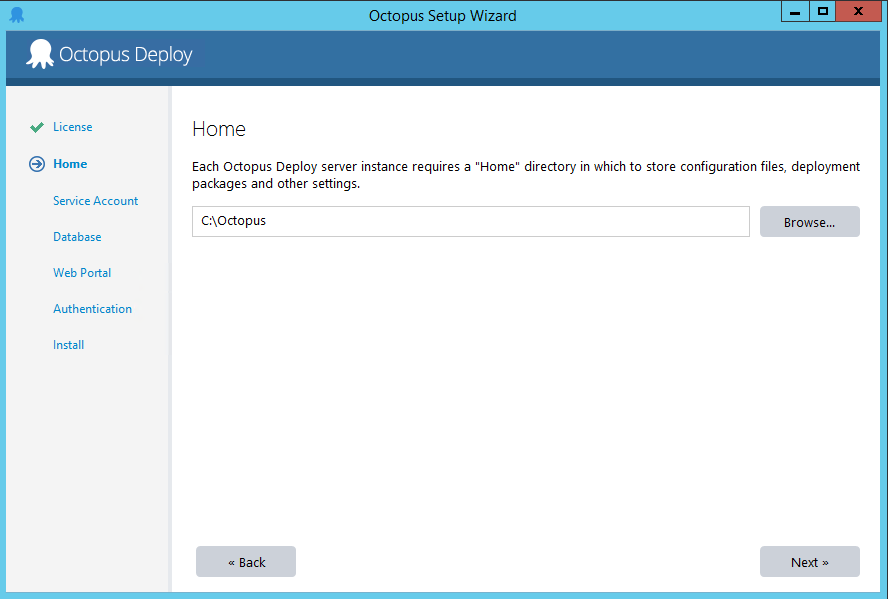
- The Home box displays. Specify the Home directory where configuration files, deployment packages, and other settings should be stored. Click Next.
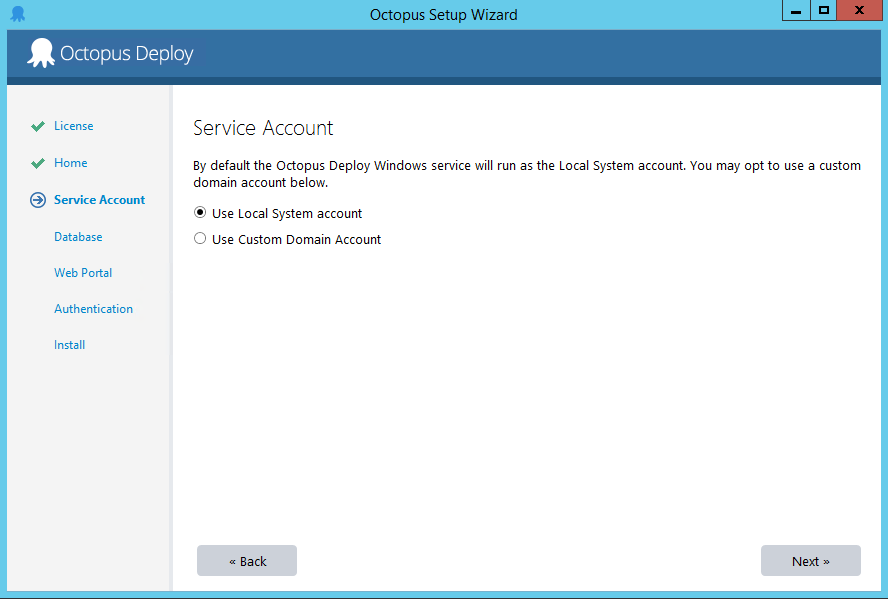
- The Service Account box displays. Select which account should run as the Local System account. Click Next.
- The Database box displays. Select the database that you created in step 1. Click Next.
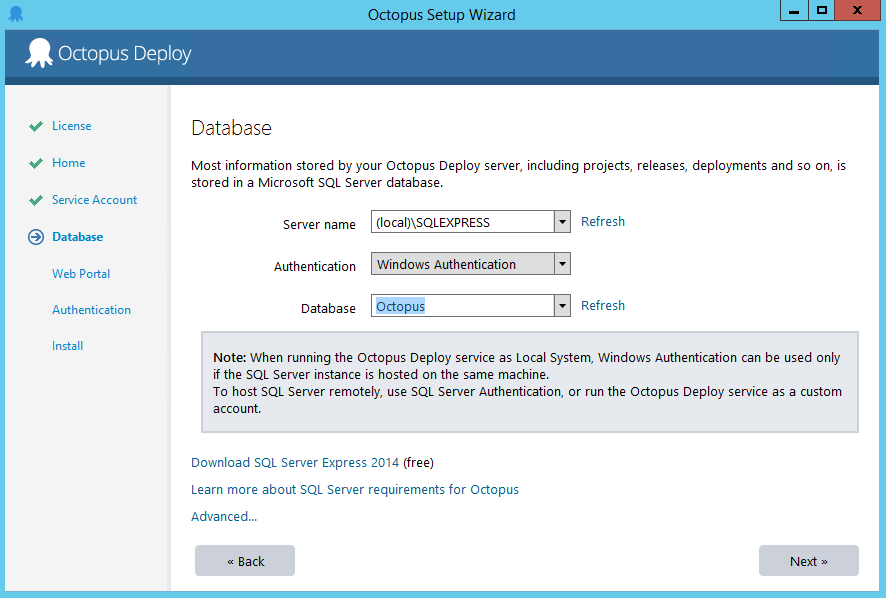
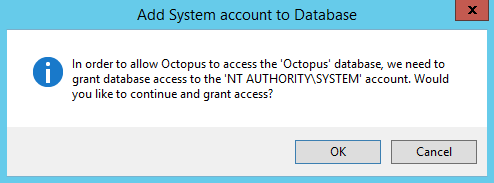
- The Add system account to Database box displays. Click OK.
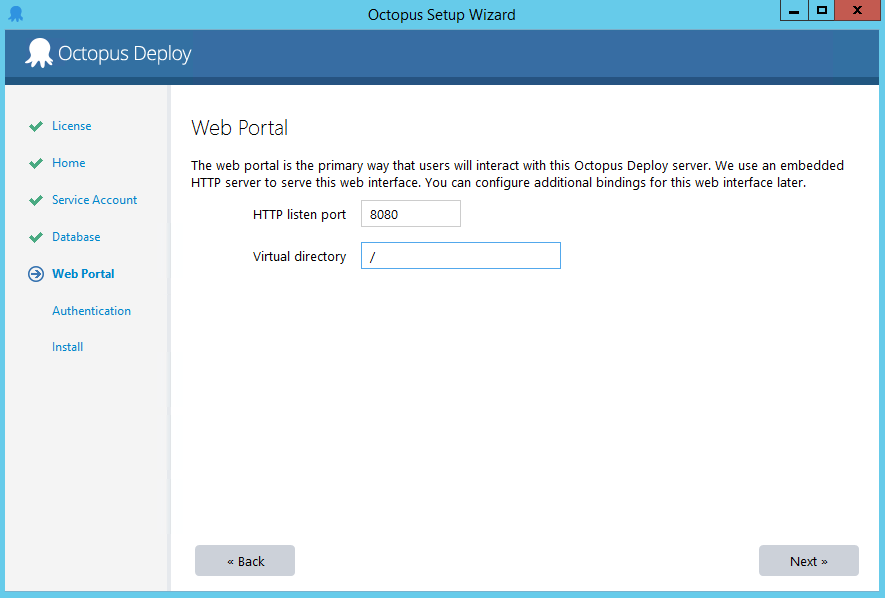
- The Web Portal box displays. Specify the HTTP listen port and Virtual directory. If TeamCity (or some other service) is already using Port 80, be sure to specify a different port number. Click Next.
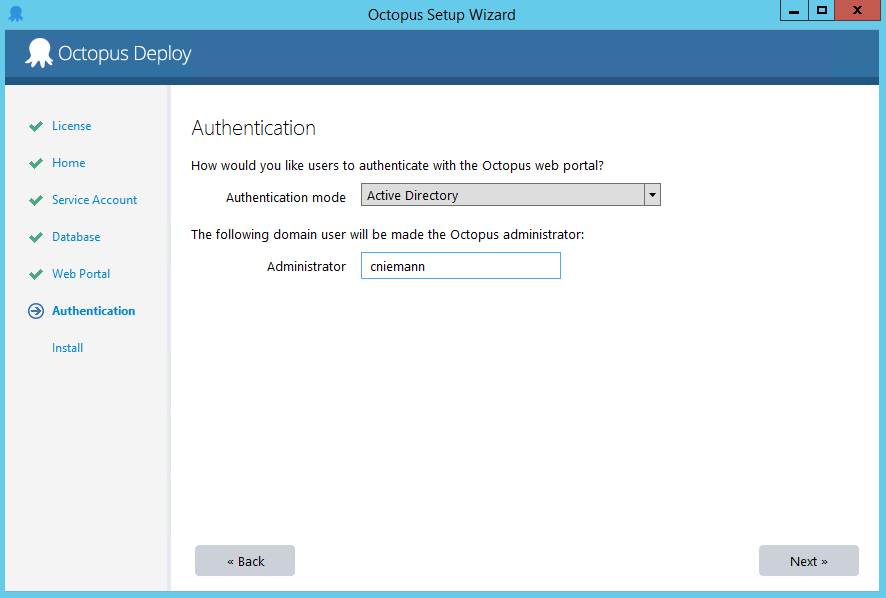
- The Authentication box displays. Create an Administrator. Click Next.
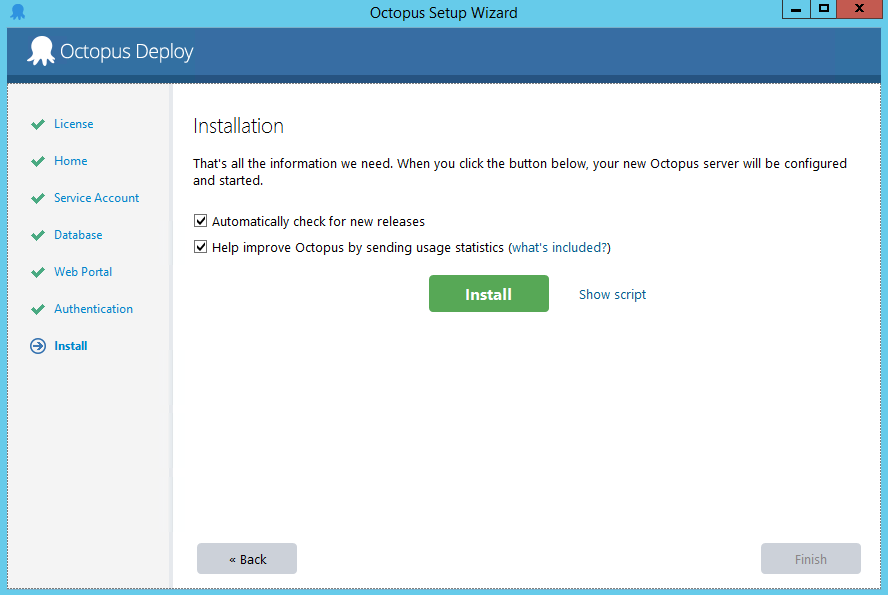
- The Installation box displays. Click Install.
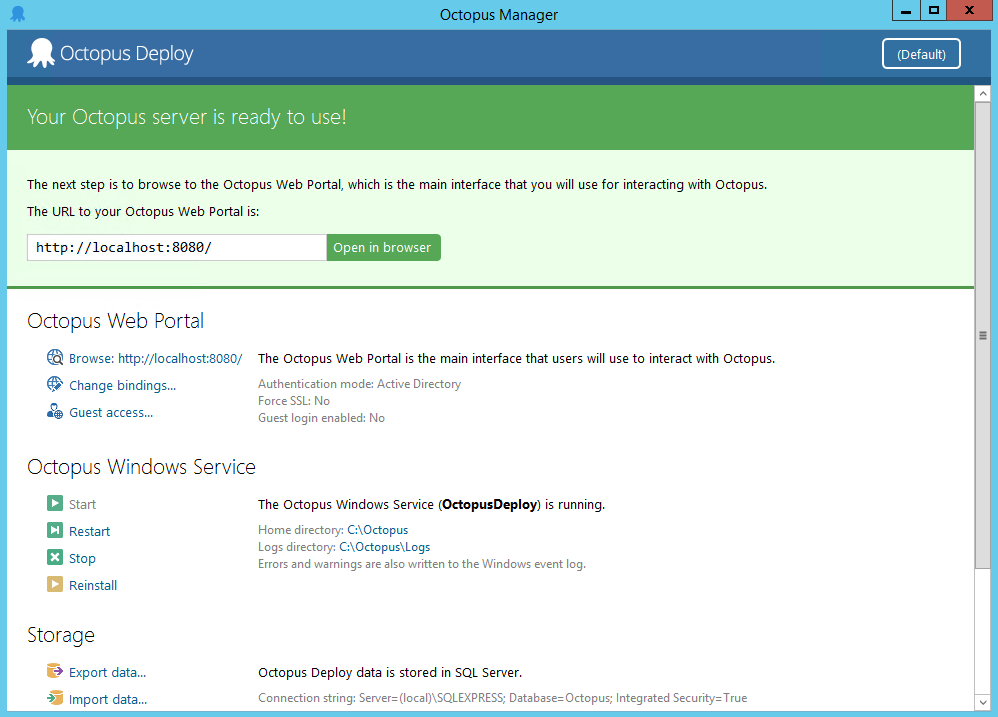
- The Octopus Manage box displays after the installation completes. You should be able to access Octopus Server using the Octopus Web Portal address.
Install Octopus Tentacle
- Run the Octopus Deploy Tentacle installer.
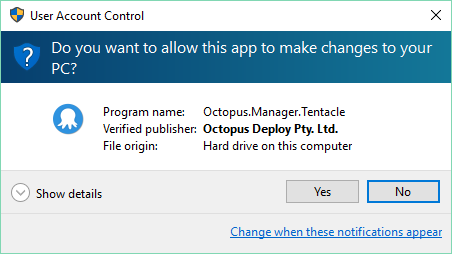
- Give permissions to Octopus.Manager.Tentacle after the installation is complete.
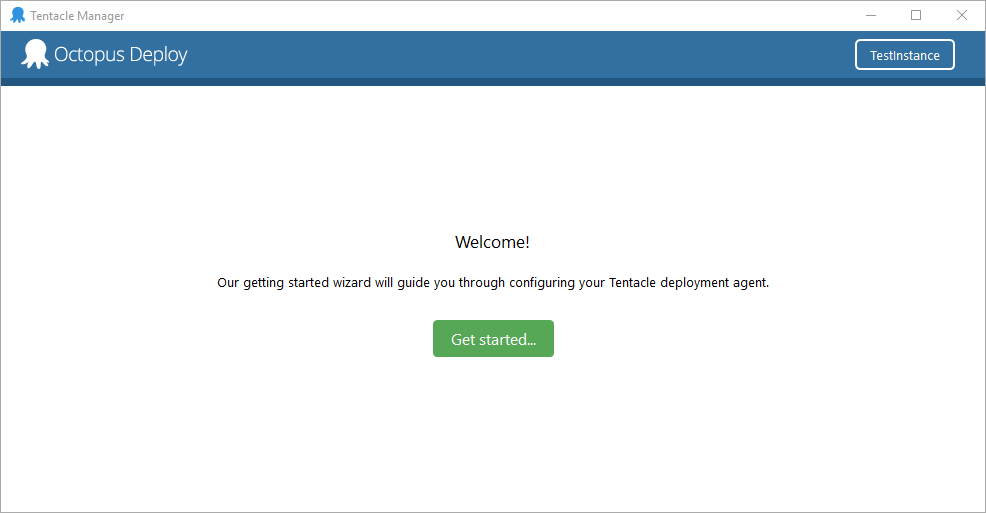
- Tentacle Manager displays. Click Get started.
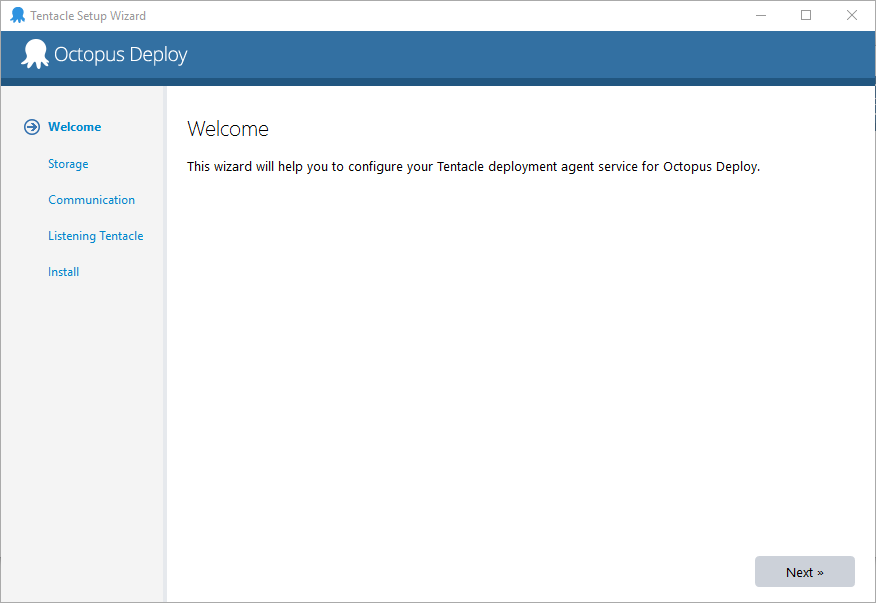
- The Welcome box displays. Click Next.
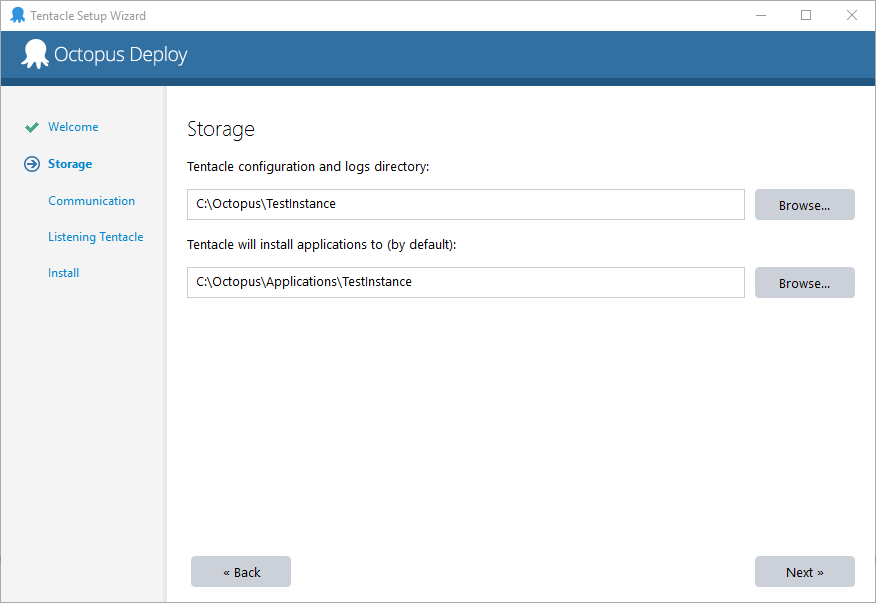
- The Storage box displays. The default values are typically fine to use. Click Next.
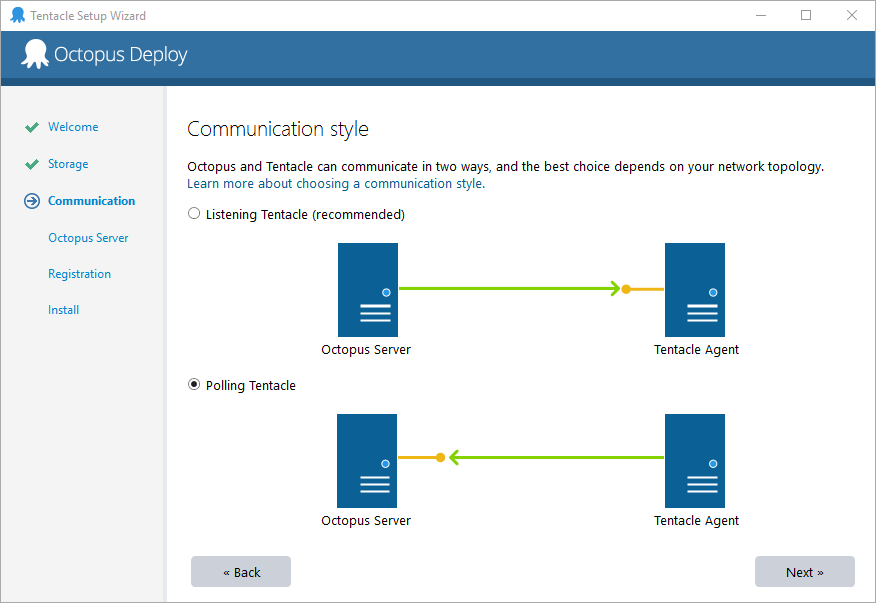
- The Communication style box displays. Select Polling Tentacle. Click Next.
- Open the Octopus Web portal and click the Environments tab.

- Click Add Environment.

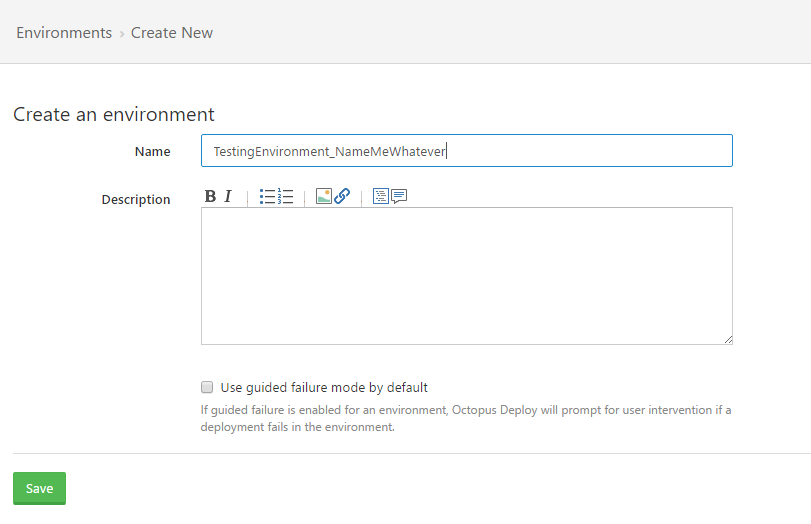
- The Create an environment page displays. Name the new Environment and click Save.
- Return to Octopus Tentacle. The Octopus Credentials box displays. Enter the Octopus Server URL, Username, and Password. Click Verify credentials to ensure they are correct.
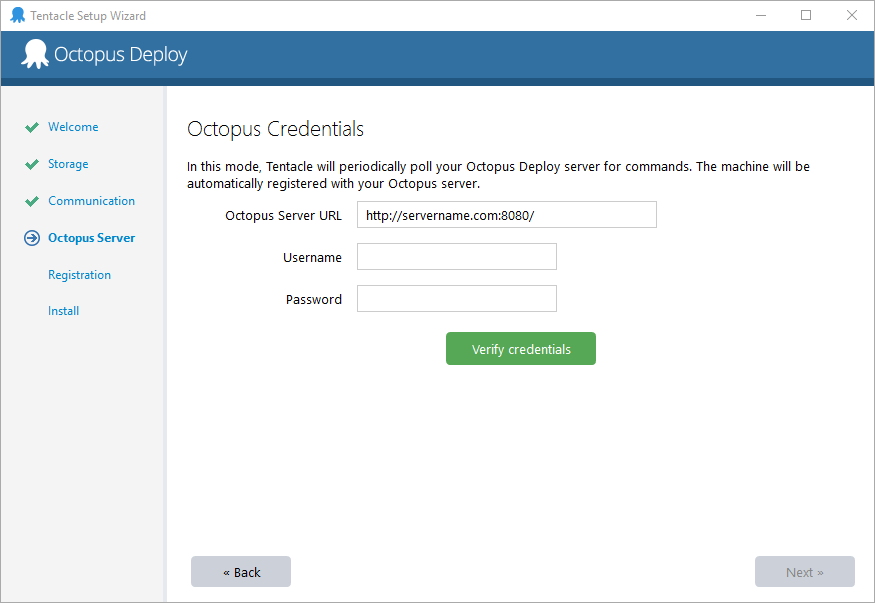
- After the credentials are verified, click Next.
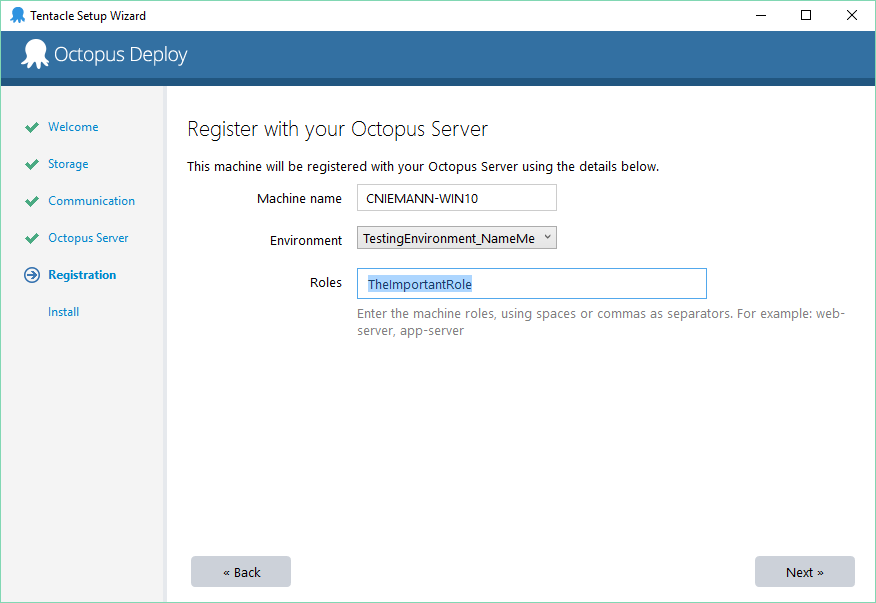
- The Register with your Octopus Server box displays. Select the Environment you created in step 9 and provide a name for Roles. Click Next.
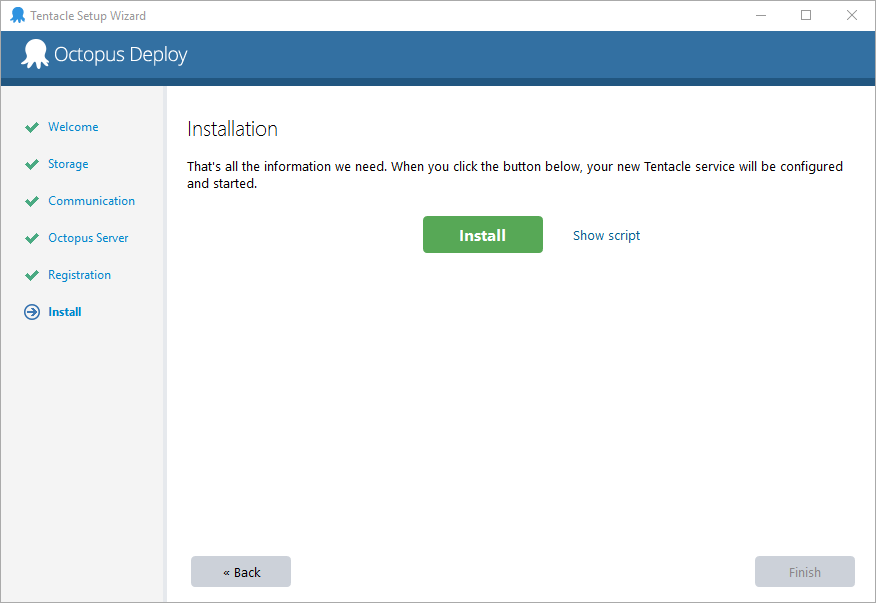
- The Installation box displays. Click Install.
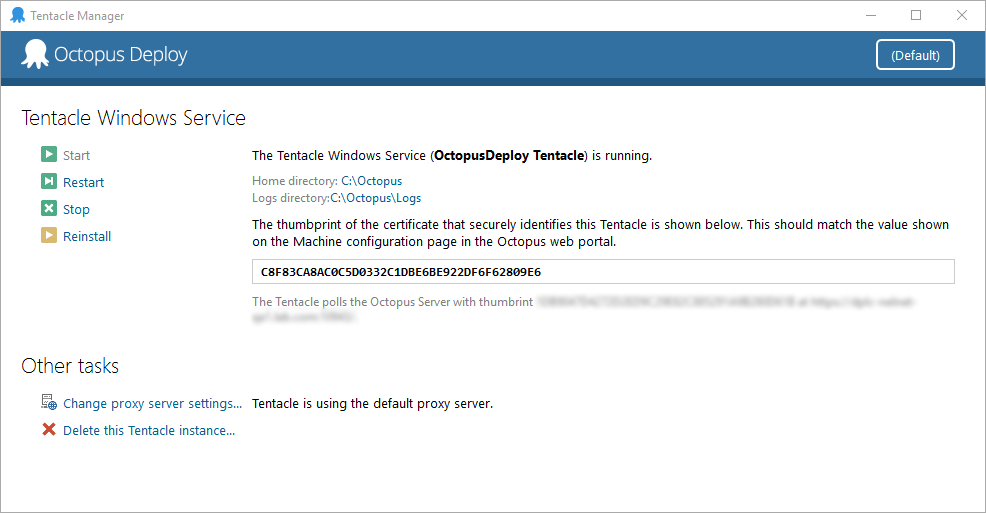
- The Tentacle Windows Service box displays after installation is complete.
- Return to the Octopus Server Interface and refresh the Environment page. The Tentacle that was just created should now be listed.


