Authenticating With A Custom Claims-Based Identity
In one of our recent projects, we were managing data back and forth between two websites: one set up for an intranet with Active Directory authentication and the other set up to face external traffic with Identity authentication. In the project, a need arose to authenticate a user from the Active Directory intranet site on the external site using the Windows Identity Foundation. But there were two catches:
- we didn’t actually want to create a new user on the external site
- this user would have very limited functionality
The solution we came up with was to generate and save a token from a user authenticated with Active Directory, then send them over to the external site with the token. The token would be validated and the user would be authenticated using custom Identity Claims.
Why did we have to go this route?
It may be possible to authenticate an anonymous user with Identity in some scenarios and get claims without actually logging in a user, but after configuring our Identity setup (specifically the use of the IUserSecurityStampStore interface, which required a real user with a real security stamp), it became necessary to go the custom claims route. Below, I’ll describe the steps needed to authorize a user using a custom claims-based Identity and a couple different ways we used this approach.
Solution
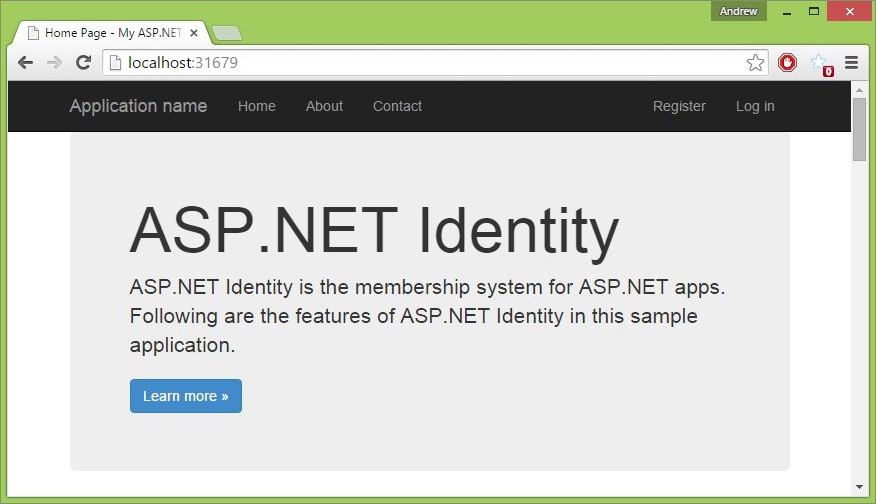
To get started, I created an empty web application project and installed the Identity Samples Nuget package – this comes with MVC and the Identity boilerplate (introduction to MVC and Identity).
Then modified the Log in page to accept a token value as an alternative method to username and password.
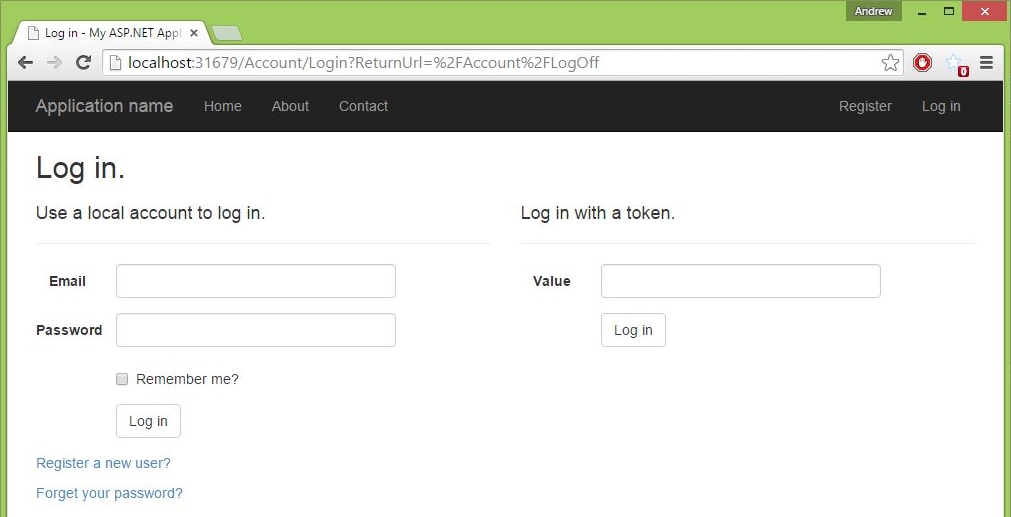
Note: In practice for us, the token value was sent with a specific URL with Web API, but the method used here is sufficient for this demonstration.
Next, I added a POST method to get the token login, verify the validity of the token, and authenticate the user.
[HttpPost]
[AllowAnonymous]
[ValidateAntiForgeryToken]
public ActionResult TokenLogin(Token token)
{
    token = GetTokenFromDatabase(token.Value);
    if (token != null)
    {
      AuthenticateWithToken(token);
      return RedirectToAction("Index", "Home");
    }
    return RedirectToAction("Login");
}

private Token GetTokenFromDatabase(string tokenValue)
{
    // Database token look-up left to the imagination
    if (tokenValue == "123456789")
    {
        // token found
        return new Token
        {
           Id = 1,
           Username = "Andrew",
           Value = tokenValue
        };
    }
    // token not found
    return null;
}
And finally, with the token verified, we create the ClaimsIdentity object needed to sign in with Owin’s Authentication Manager. There are a wide variety of claim types that can be associated with an Identity, but here we only use NameIdentifier, Name, IdentityProvider, and a custom “UserType”.
private void AuthenticateWithToken(Token token)
{
   ClaimsIdentity identity = CreateClaimsIdentity(token);

   Microsoft.Owin.Security.IAuthenticationManager authenticationManager =
      System.Web.HttpContext.Current.GetOwinContext().Authentication;

   authenticationManager.SignIn(identity);
}

private ClaimsIdentity CreateClaimsIdentity(Token token)
{
   var claims = new Claim[]
   {
      new Claim(ClaimTypes.NameIdentifier, token.Username),
      new Claim(ClaimTypes.Name, token.Username),
      new Claim("http://schemas.microsoft.com/accesscontrolservice/2010/07/claims/identityprovider", token.Username),
      new Claim("urn:Custom:UserType", "AnonymousUser")
   };

   return new ClaimsIdentity(claims, DefaultAuthenticationTypes.ApplicationCookie);
}
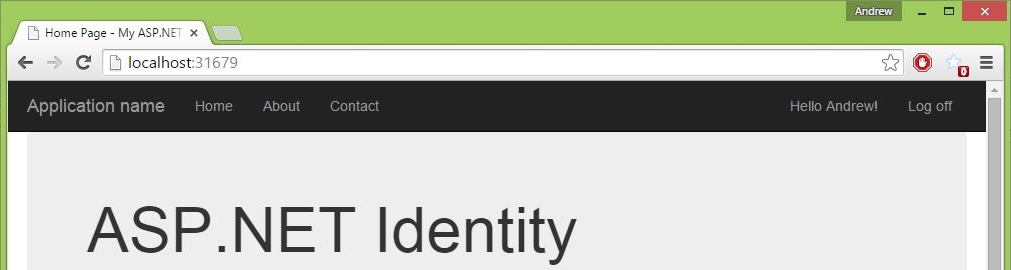
Now if the token is valid, the application will recognize the user as logged in and, in this case, pull the username out of the Identity.
From here we can give the user access to the full site as an authorized user, or we can limit the user’s accessibility by checking the Identity…
protected bool IsAnonymousUser()
{
   var claim = ((ClaimsIdentity)User.Identity).Claims.FirstOrDefault(c => c.Type == "urn:Custom:UserType");
   return claim.Value == "AnonymousUser";
}
and redirecting them away…
public async Task Index(ManageMessageId? message)
{
   if (IsAnonymousUser())
   {
      return RedirectToAction("Index", "Home");
   }
}
or signing them out entirely…
public ActionResult Contact()
{
   if (IsAnonymousUser())
   {
      HttpContext.GetOwinContext().Authentication.SignOut();
      return RedirectToAction("Index");
   }
}
Conclusion
The use cases that merit this type of situation may arise infrequently, but as we found out recently, they do arise. It’s nice to know we can bend the out-of-the-box authentication tools to our will and still take advantage of the benefits.
If you’d like to try this out yourself, here are the project files.