
Setting Up User and Password Verification with Cognito
With most solutions, we want to use an IDP (Identity Provider) to manage users. This almost always involves redirecting to a hosted web page to handle user authentication. After the user is authenticated, they are redirected back to our web application. That is a preferred way to handle this problem, mostly because it keeps us 100% away from the user’s password.
But every once in a while, you will need to create the user/pass fields inside of your application. Again, I recommend against this. But if you are hosting the user/pass fields, you can still avoid owning the user/pass data. In this blog post, I will show you how to let Cognito own the user/pass data and the authentication, but let us use our own UI for the entering of the user/pass.
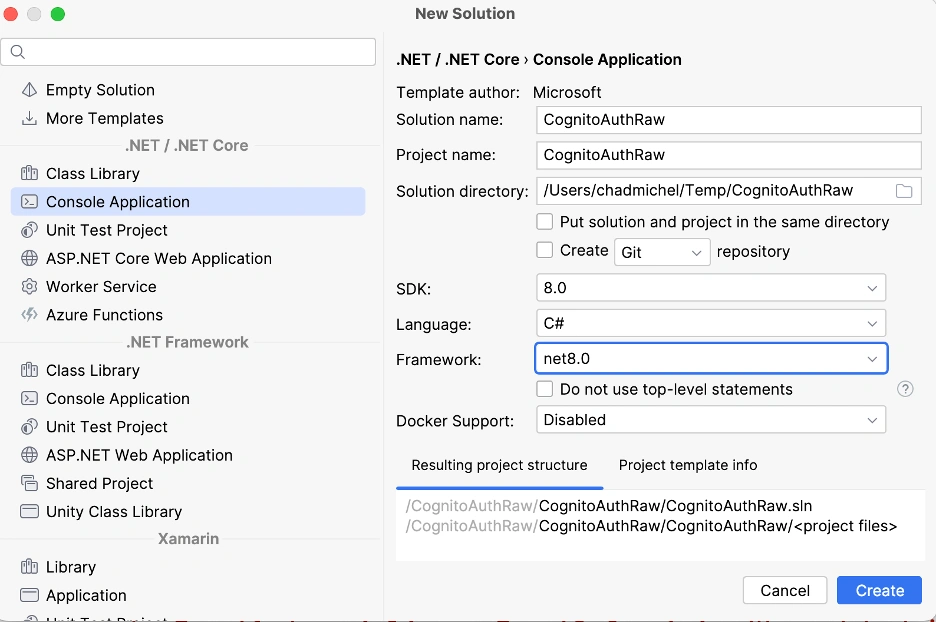
Create a C# project. I am going to create a C# console application for this test.
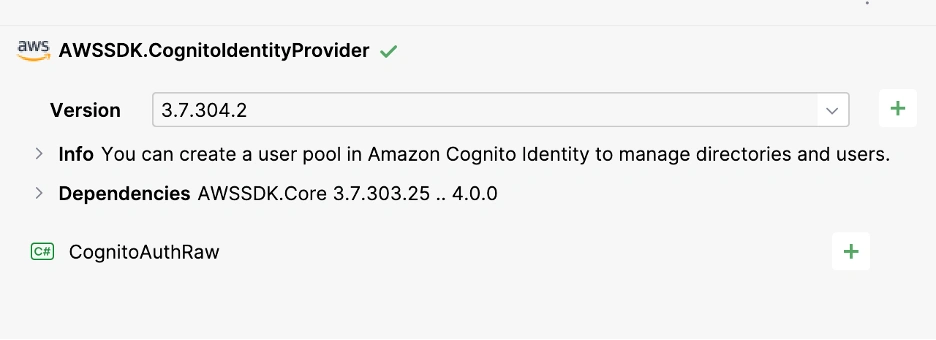
Add the AWS Cognito NuGet package.
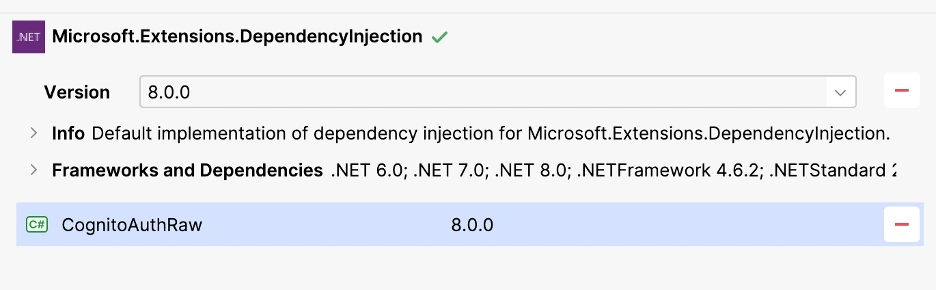
You must also install Microsoft’s standard NuGet library for dependency injection and hosting.

The code to do this turns out to be very straightforward.
The full example includes a little more code. Most of it is just set up.
Reference
https://github.com/awsdocs/aws-doc-sdk-examples/tree/main/dotnetv3/Cognito#code-examples