
A MAUI Start
.NET MAUI is Microsoft’s next version of Xamarin Forms. It has taken Microsoft a few years to get here, but with .NET 7 MAUI is finally in a usable state.
Since .NET MAUI is an extension of what was Xamarin Forms, you can write a single piece of C# code that will run on Windows, Mac, Android, and iOS.
Another big benefit of using MAUI is that you are effectively writing code in WPF (Windows Presentation Foundation). MAUI isn’t WPF, but it is close. And it almost feels like going home.
In this blog post, I will set up a basic .NET MAUI app and some basic routing. I will be using Visual Studio for Mac.
First, we will create a .NET MAUI application: File -> New Project.
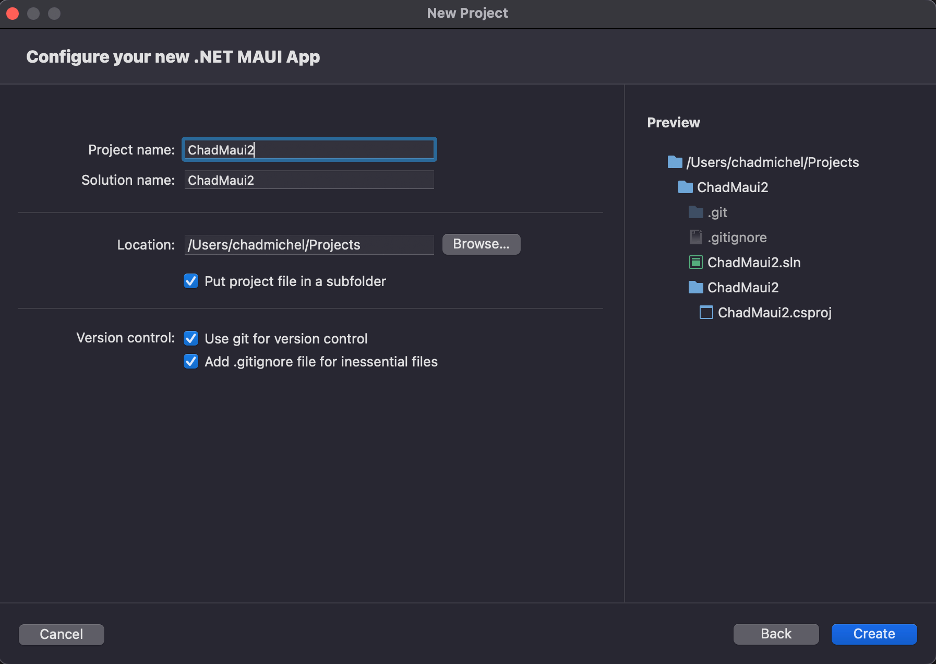
Now we have a new application. We can run it by pressing the Play button. Visual Studio for Mac will default to running your application as a Mac application.
![]()
Now the Mac application is up and running.

One cool thing is that we can change the code in the XAML file, and the application will automatically update. This “Hot Reload” feature is something I wish we had back when we were developing with WPF.
Below we update the Text property to “Howdy”.

And the text updates.

Another cool aspect of MAUI is that it handles routing much as you would expect from an SPA (Single Page Application). This borrowed concept makes it easy to bring our web skills to a MAUI application.
We need to add a second page to see this routing in place.
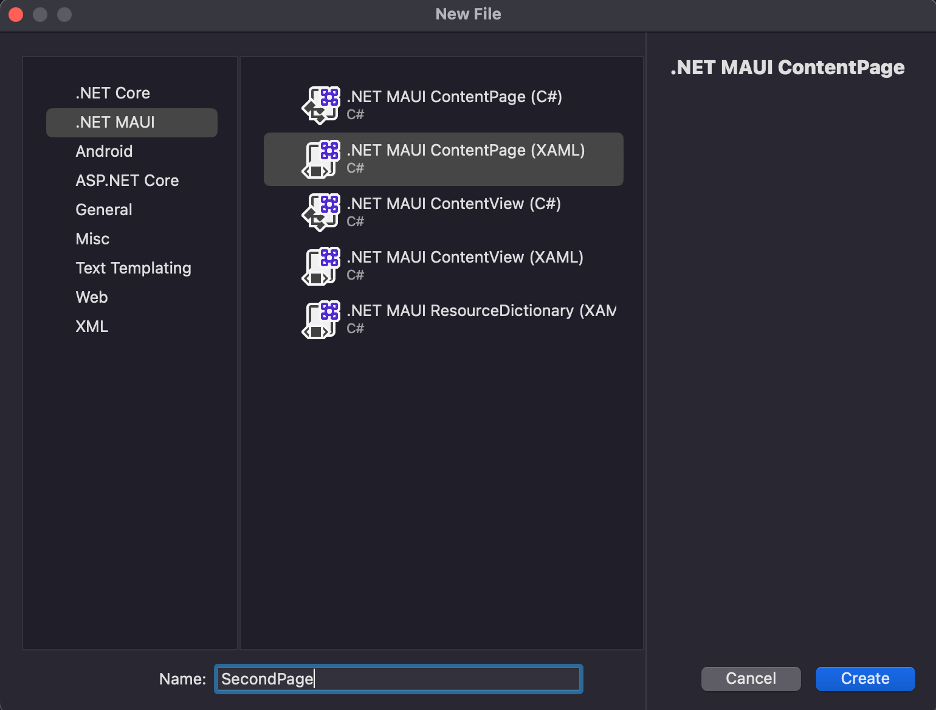
The content of the page doesn’t really matter. For now, we will just put the second page inside a label.
We will need to add a button to the existing main page. This button will have a click handler that we will use to navigate to the second page.
Now we add the click handler that will navigate us to the second page.
Now it appears that everything is set up and ready to go, but we need to wire up the route.
This allows us to navigate to a separate page by clicking the “Navigate” button. This doesn’t amount to much, but this gives us basic navigation for a much bigger application.


