How To: Sending Emails with Mailgun
Sending emails is a common feature in software these days. A user signs up, we send an email. A user places an order, we send an email. This sort of action happens all over. So it isn’t surprising that as software developers, it’s pretty common for us to include email functionality in the systems we build.
There are a lot of software services to help with sending emails. Sometimes, we may be asked why we just don’t use SMTP? There are a few reasons. First, it is nice to use existing services that abstract away the underlying technology. Second, many email services have an underlying templating system that allows the separation of templates and the data used to feed the template. Third, many mail services allow you to track how often your emails are opened.
One of the services we like using is Mailgun. And getting started with it is pretty straightforward.
After getting signed up, you will need to verify your email address. Actually, you will have to verify it in a couple of places. You will need to verify your account access, and while you are in “trial” mode you will have to verify that you allow emails from the Mailgun trial.
After you have your emails verified, you can set up your email template.
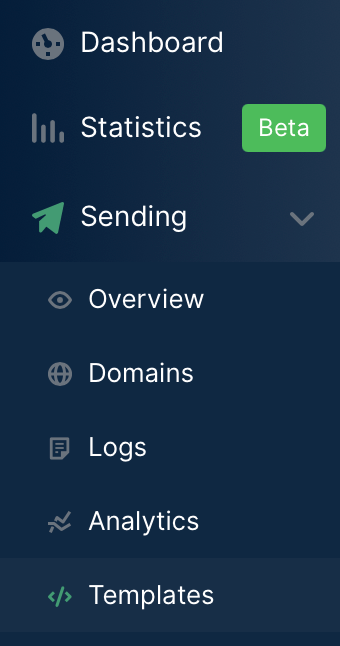
Expand “Sending” and click “Templates”.

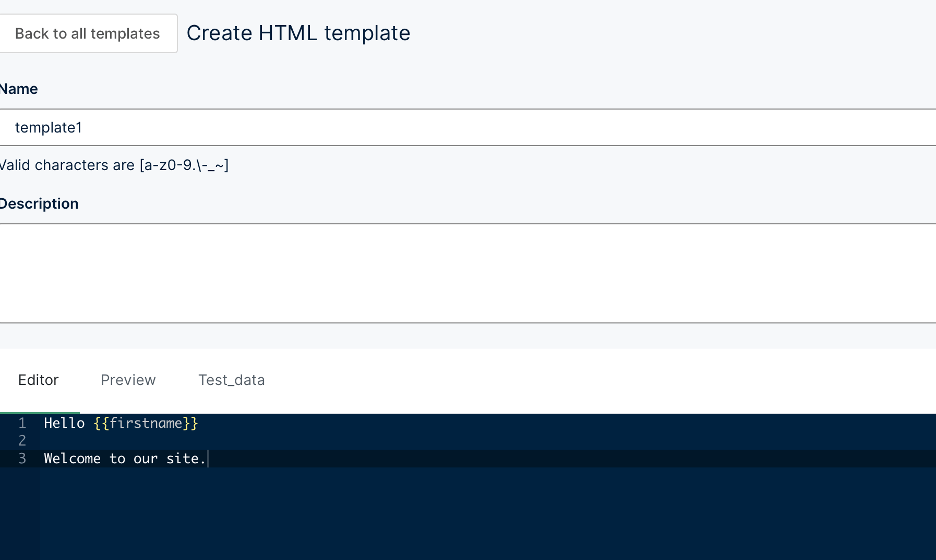
Now it’s time to create your template.

An example template would be like in the image above. A very simple email that basically says “hello.” Because the template includes a variable “{{firstname}}, we will need to provide that variable when we send the email.
The code for sending emails with Mailgun is straightforward. We are basically making some REST API calls. Probably the thing to note is the pass of the first name “Bob”.
The email will be generated and sent using Mailgun and arrives in your inbox.

Another nice thing about Mailgun is it supports more of a pay-as-you-go pricing. Many email services right now are requiring pretty heavy minimums.


