Using Azure Active Directory B2C with Angular
In my previous Azure B2C post, we used Azure Active Directory B2C with an ASP.NET backend. Microsoft makes this a pretty seamless experience. You configure your Azure B2C application and then configure your ASP.NET web application. That’s it! But what if you want to use an Angular frontend?
Using Azure B2C with Angular is similar to using Azure B2C with ASP.NET, but it does require a little more code. Microsoft provides a sample application in GitHub that shows how to do this. The code in this sample will be a derivative from that sample.
In this post, we are going to take our previous B2C setup and move it to Angular.
Create an Angular application.
ng new application AzureB2CTest
After creating the Angular application, we need to add a Microsoft-provided npm package for doing Azure B2C authentication.
npm install msal
Then we need to make some changes to the Angular application. For this example project, we are going to make the minimum changes required. With a full Angular solution, we wouldn’t just put all the code in the main app component.
Modify app.component.html.
The modifications to app.component.ts are pretty big. The core of the code resolves around using the Msal npm package to log in the user.
Now we can run the Angular application using “ng serve”. This is a very simple application: it has a login button and nothing else. If we click the login button, it will try to use Azure B2C authentication. We still need to make a small tweak to our Azure B2C settings in the Azure portal.
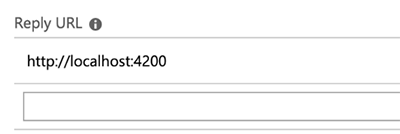
In the Azure portal, we will need to change our Reply URL. Previously, our Reply URL would have been set for a URL that worked with our IIS Express-hosted ASP.NET project. Angular will default to port 4200 and we need to reflect this difference here.

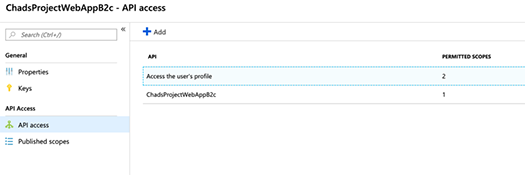
You will now need to create an API Token. You can do this by clicking “Add” under API access.

You can get your scope from the published Scope screen.

With the information from the Azure portal, you can modify the app.component.ts file and fill in the blanks.
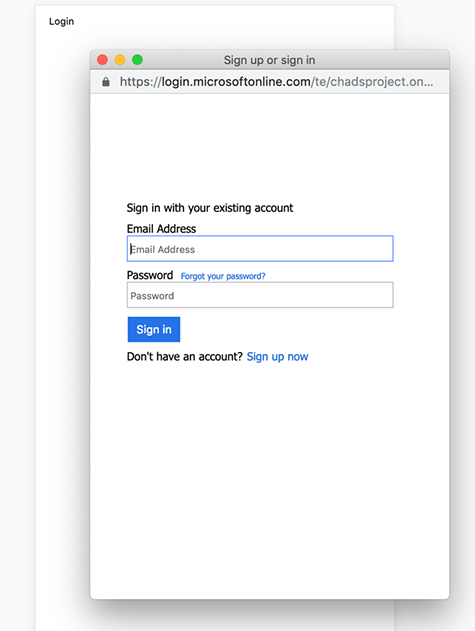
Now you should be able to step through the login process using your Angular application.

If you have any questions or comments, hit me up on Twitter.


