
Getting Started with Azure B2C Identity Management
Users are essential for software, but managing users isn’t a unique value-add we are often providing with our software. Letting someone else manage users for us makes a lot of sense and saves many headaches.
Thankfully there are many services that do this really well. One of those services is Azure Active Directory B2C. In this post, I will cover the steps needed to get started with it.
Log in to the Azure portal and add an Azure B2C directory.
![]()
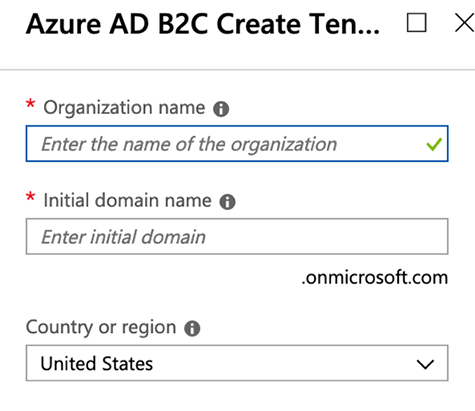
Enter an organization name and a domain name.
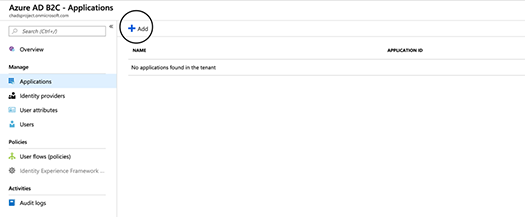
Click “Services”, then search for “B2C”. Once you are on the Azure AD B2C page, click the “Add” button to add an application.
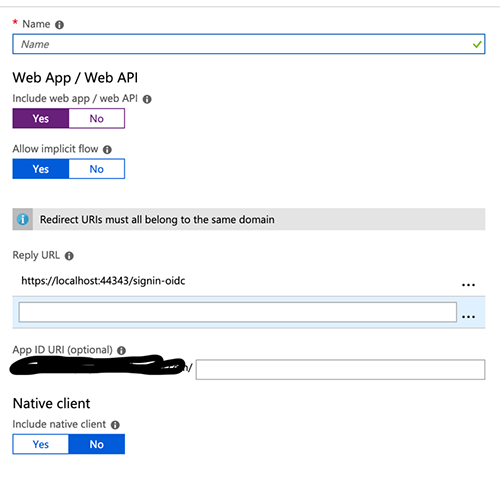
Enter the required information. Since we will test this using Visual Studio running a local .NET core project, we need to use a localhost URL as the reply URL.
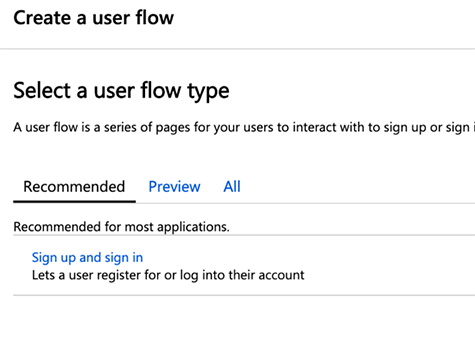
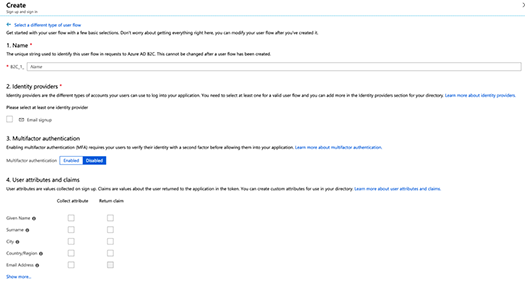
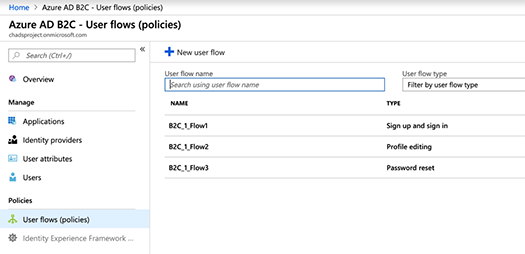
Now that we have a B2C directory and a B2C application, we need to create application flows for sign in / sign up, profile editing, and password reset. To create each one of these, click “New user flow” and complete the on-screen instructions.
Now we need to create an ASP.NET Core Web Application.
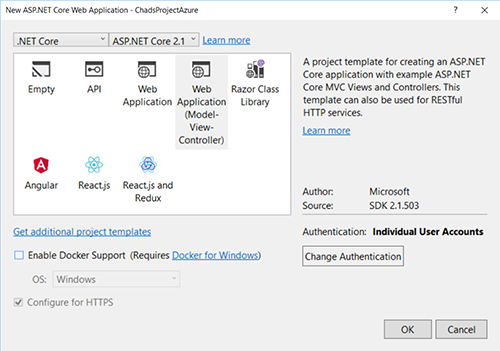
While creating the application, you will need to configure the identity to use “Individual User Accounts”.
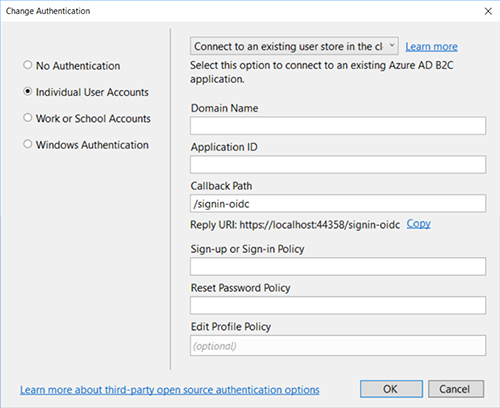
Lastly, we need to update the appsettings.json file. Your ASP.NET core web application will already have this file in place. You just need to make a few tweaks to it.
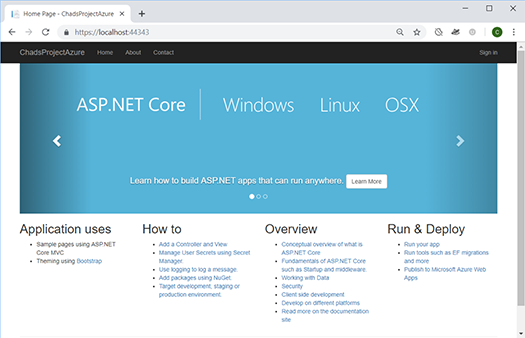
Run the ASP.NET web application by pressing F5 from within Visual Studio.
Once the web application loads, click “Sign In”.
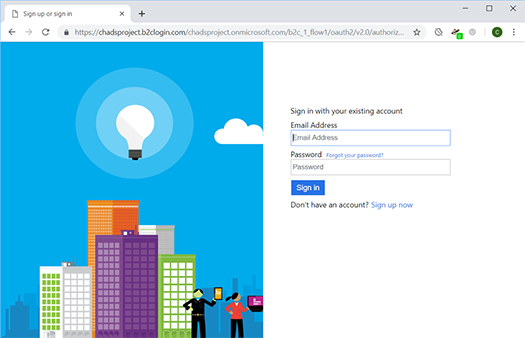
Click the “Sign up now” link.
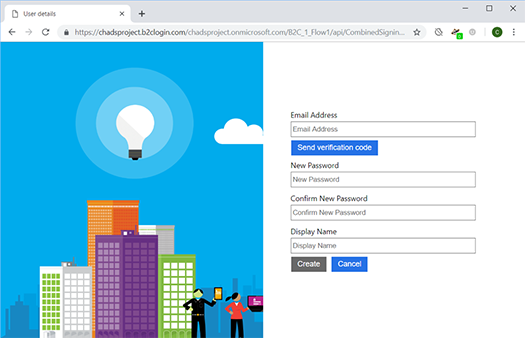
Enter the required fields and click “Create”.
You will be redirected to your web application as a logged in user. Done.
Azure B2C does not charge you for your first 50k users, which makes it an inexpensive solution for new SaaS products.
If you have any questions or comments, hit me up on Twitter.


