
Getting Started with Swagger API
Years ago, we had something called ASMX web services. While I wouldn’t want to go back to those, they did have some advantages over the current way many APIs are created. Back in the ASMX days, you got a pretty well-defined contract for interacting with web services. Today if someone is setting up a Web API Controller, there is no documentation for the API. With many modern web services, the first thing you do is craft a test harness so you can test the web service. That was also something the old ASMX did better than the current Web API land.
Enter Swagger. It solves those two problems. First, it creates some documentation on how to consume your web services. Second, it creates pages that you can use to test your web service.
First, create a .NET Core WebAPI web application.
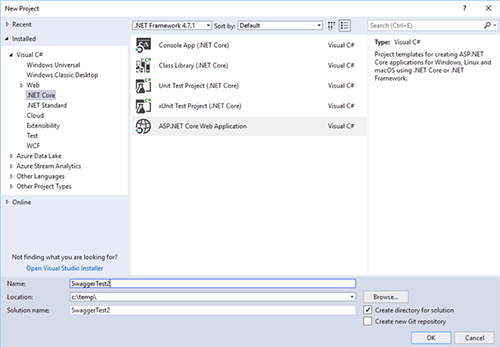
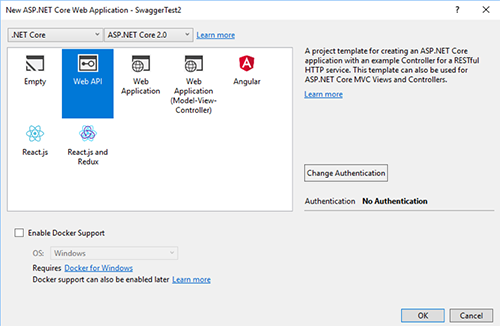
Add Swashbuckle.AspNetCore NuGet package to our project by right-clicking on your project and selecting “Manage Nuget Packages”. Then search for Swashbuckle.AspNetCore.

Update program.cs to have add Swagger:
Now run the project, and go to localhost:port/swagger to see the Swagger site running.
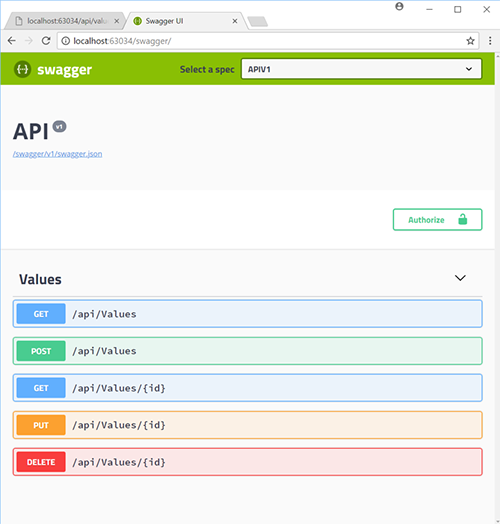
Now that we have a running Swagger site running, let’s dive a little deeper. We are going to create a super simple API that does addition. Not the most useful API in the world, but good enough for our example. We’ll start by creating a new controller named MathController.
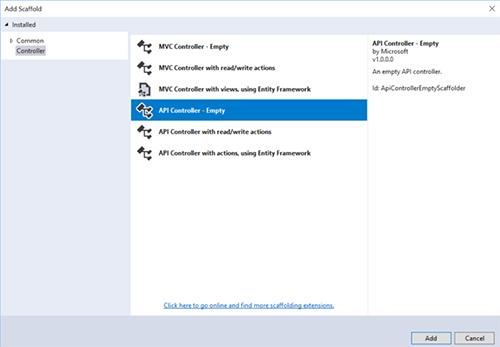
Let’s write a super complex method on our Math controller. Let’s call it “Add”. 🙂
Now we can run the app in Visual Studio again, and we will again go to http://localhost:63034/swagger/.
This will give us a nice web interface to test our method.
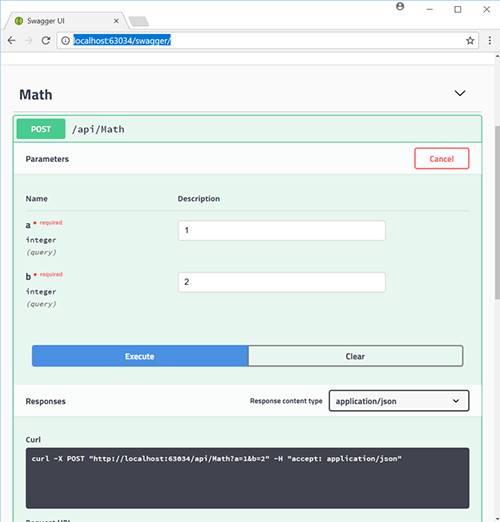
Swagger is pretty amazing, and it gives you a pretty quick and easy way to document our APIs. It also gives you a quick and easy way to test your API.
Next time you are building an API for your web application, give Swagger a try.


