Getting Started with Ionic, Part 3
In my previous post, we did things that really didn’t utilize any device features. In this post, we are going to use two native device features: email and phone.
Let’s get started by installing the email plugin.
ionic cordova plugin add cordova-plugin-email-composer npm install –save @ionic-native/email-composer
Using this plugin can be a little tricky. We have to first verify that we are running on a device and that email is configured on the device. We also do a quick verification to ensure that the user has an email address.
Next, let’s install the phone plugin.
ionic cordova plugin add call-number
npm install –save @ionic-native/call-number
The phone plugin code is a little simpler. We again need to check if we have access to the phone device.
To use the email plugin or the phone plugin, you will need to enable those providers.
Normally when we run Ionic we use a simple command line.
ionic serve
You can use Ionic serve to run the application, but when doing so you are running in a web browser, and these device native features will not be available.
On a Mac, you can run the emulator with a simple command line.
ionic cordova emulate ios
But when you’re running in the emulator, you can’t test sending emails. To fully test email functionality, you need to deploy the app to a device.
Detail.ts
Detail.html
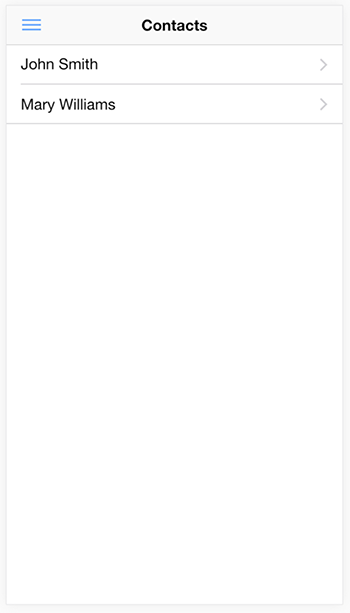
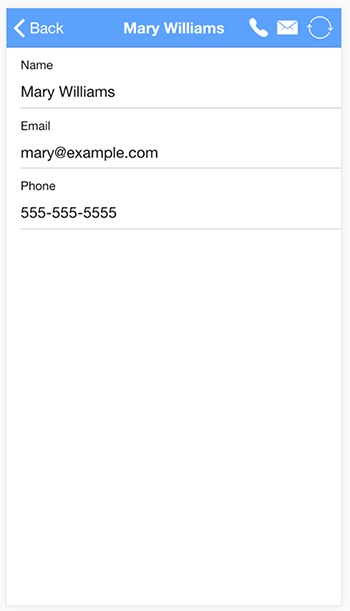
Our application up and running:


The Ionic code used in this blog post series is located on GitHub at https://github.com/chadmichel/IonicDemo.


