
A Website Without Servers – Using Azure Functions: Part 1, Introduction
Why Azure Functions?
Azure Functions provide a quick spot to drop some simple service code. Think of them as services without the hassle. No VS projects. No builds. Just go.
Azure Functions are not a great technology for everything, but for services that contain simple logic they are probably okay. The biggest drawback to Azure Functions may be testing them.
At Don’t Panic Labs, we are big fans of automated testing. That means we look at Azure Functions as a bit of a hassle. We will attempt to look at those issues later on in the series.
(Side note: With the new Visual Studio extension that allows us to run Azure Functions, this concern is lessened. Azure Functions are becoming more real every day.)
What Is This Series, And What Are We Building Here?
In this blog post series, we will stitch together an engineer fashion application using Azure Functions. Yes, we are building a dress-up app.
Each post will add another feature / behavior until (hopefully) it is functional. While what we are building will never be a fully-functional application, it will be complete enough to demonstrate how an app can be built using Azure Functions.
Why not just create an ASP.NET website and walk away? That would be the easiest option, but in this series we are intentionally focusing on Azure Functions because they do offer some really nice pricing options (if pricing is super important to you).
Why not a TODO list example? I think there is enough of those out there. I want to provide something different.
We will create a single page application using Angular. The application will be a very simple fashion application (fashion and Azure functions seem like a match made in…). The application can be used to design out the perfect engineer-friendly outfit. We will host the application using Azure (Blob and Functions).
What Are We Doing In This Blog Post?
In this post, we are going to set up some infrastructure pieces. By the end, we will not have a full fashion application up in running, but we will have:
- Static HTML hosting
- An Azure function that we can test
Let’s Do Some Azure Setup
1. Create an Azure account and log in. You can get a trial Azure account at https://azure.microsoft.com/en-us/free/
2. Create a storage account.
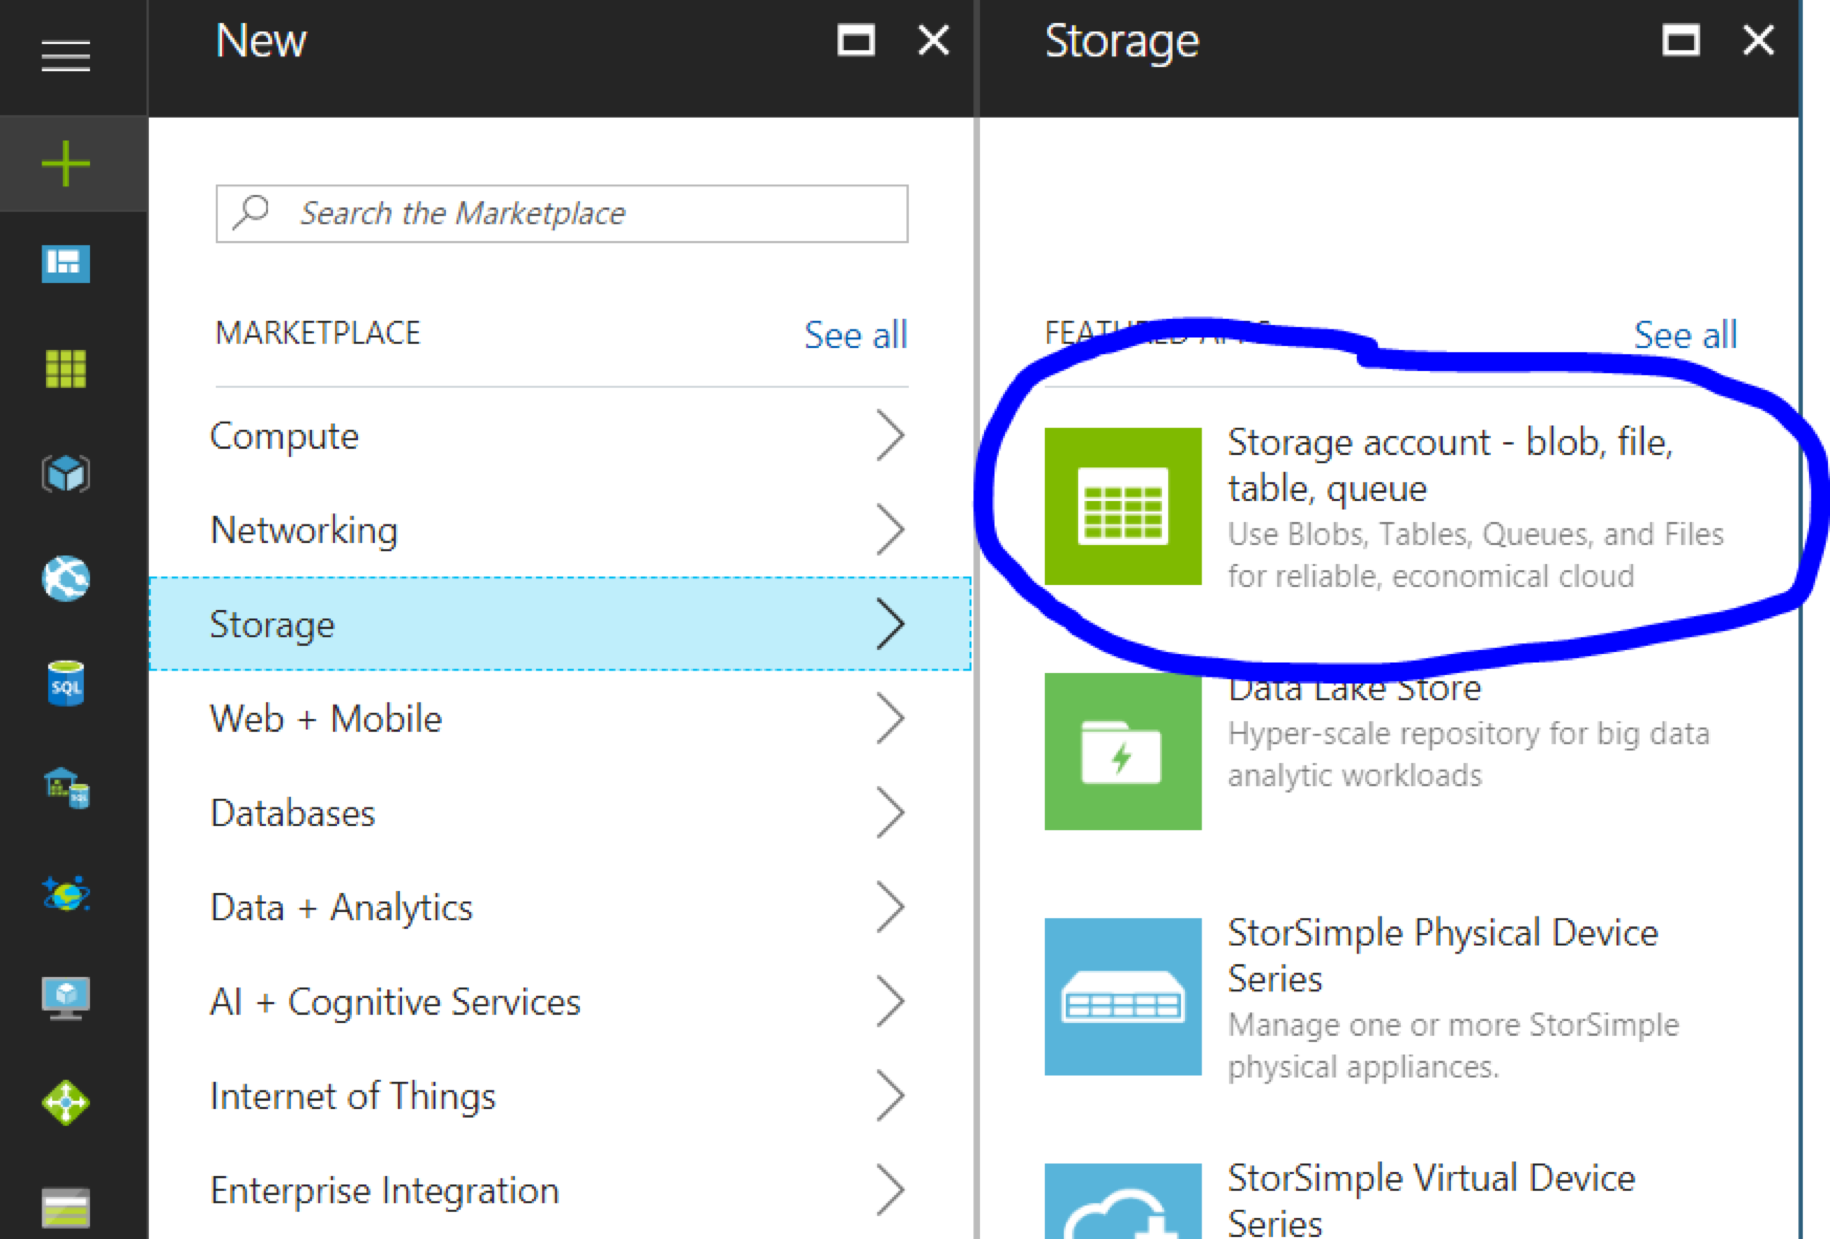
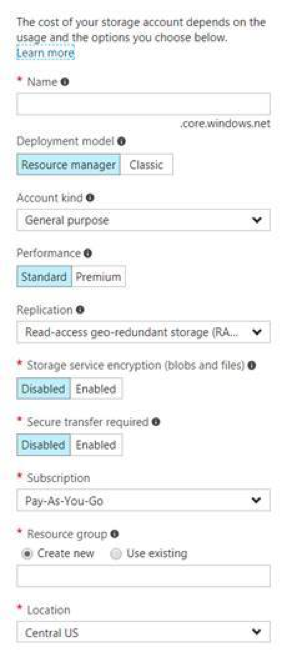
3. Create a new blob container.
4. Create a basic HTML file and upload it to the container we created in step 3. Note the URL of the HTML file because we will need that in a later step.
The file can be very basic. For example:
5. Create an Azure Function / App Service. You can do this in the Azure portal. Once in the Azure portal click “+New”. Then add a new “Function App”.
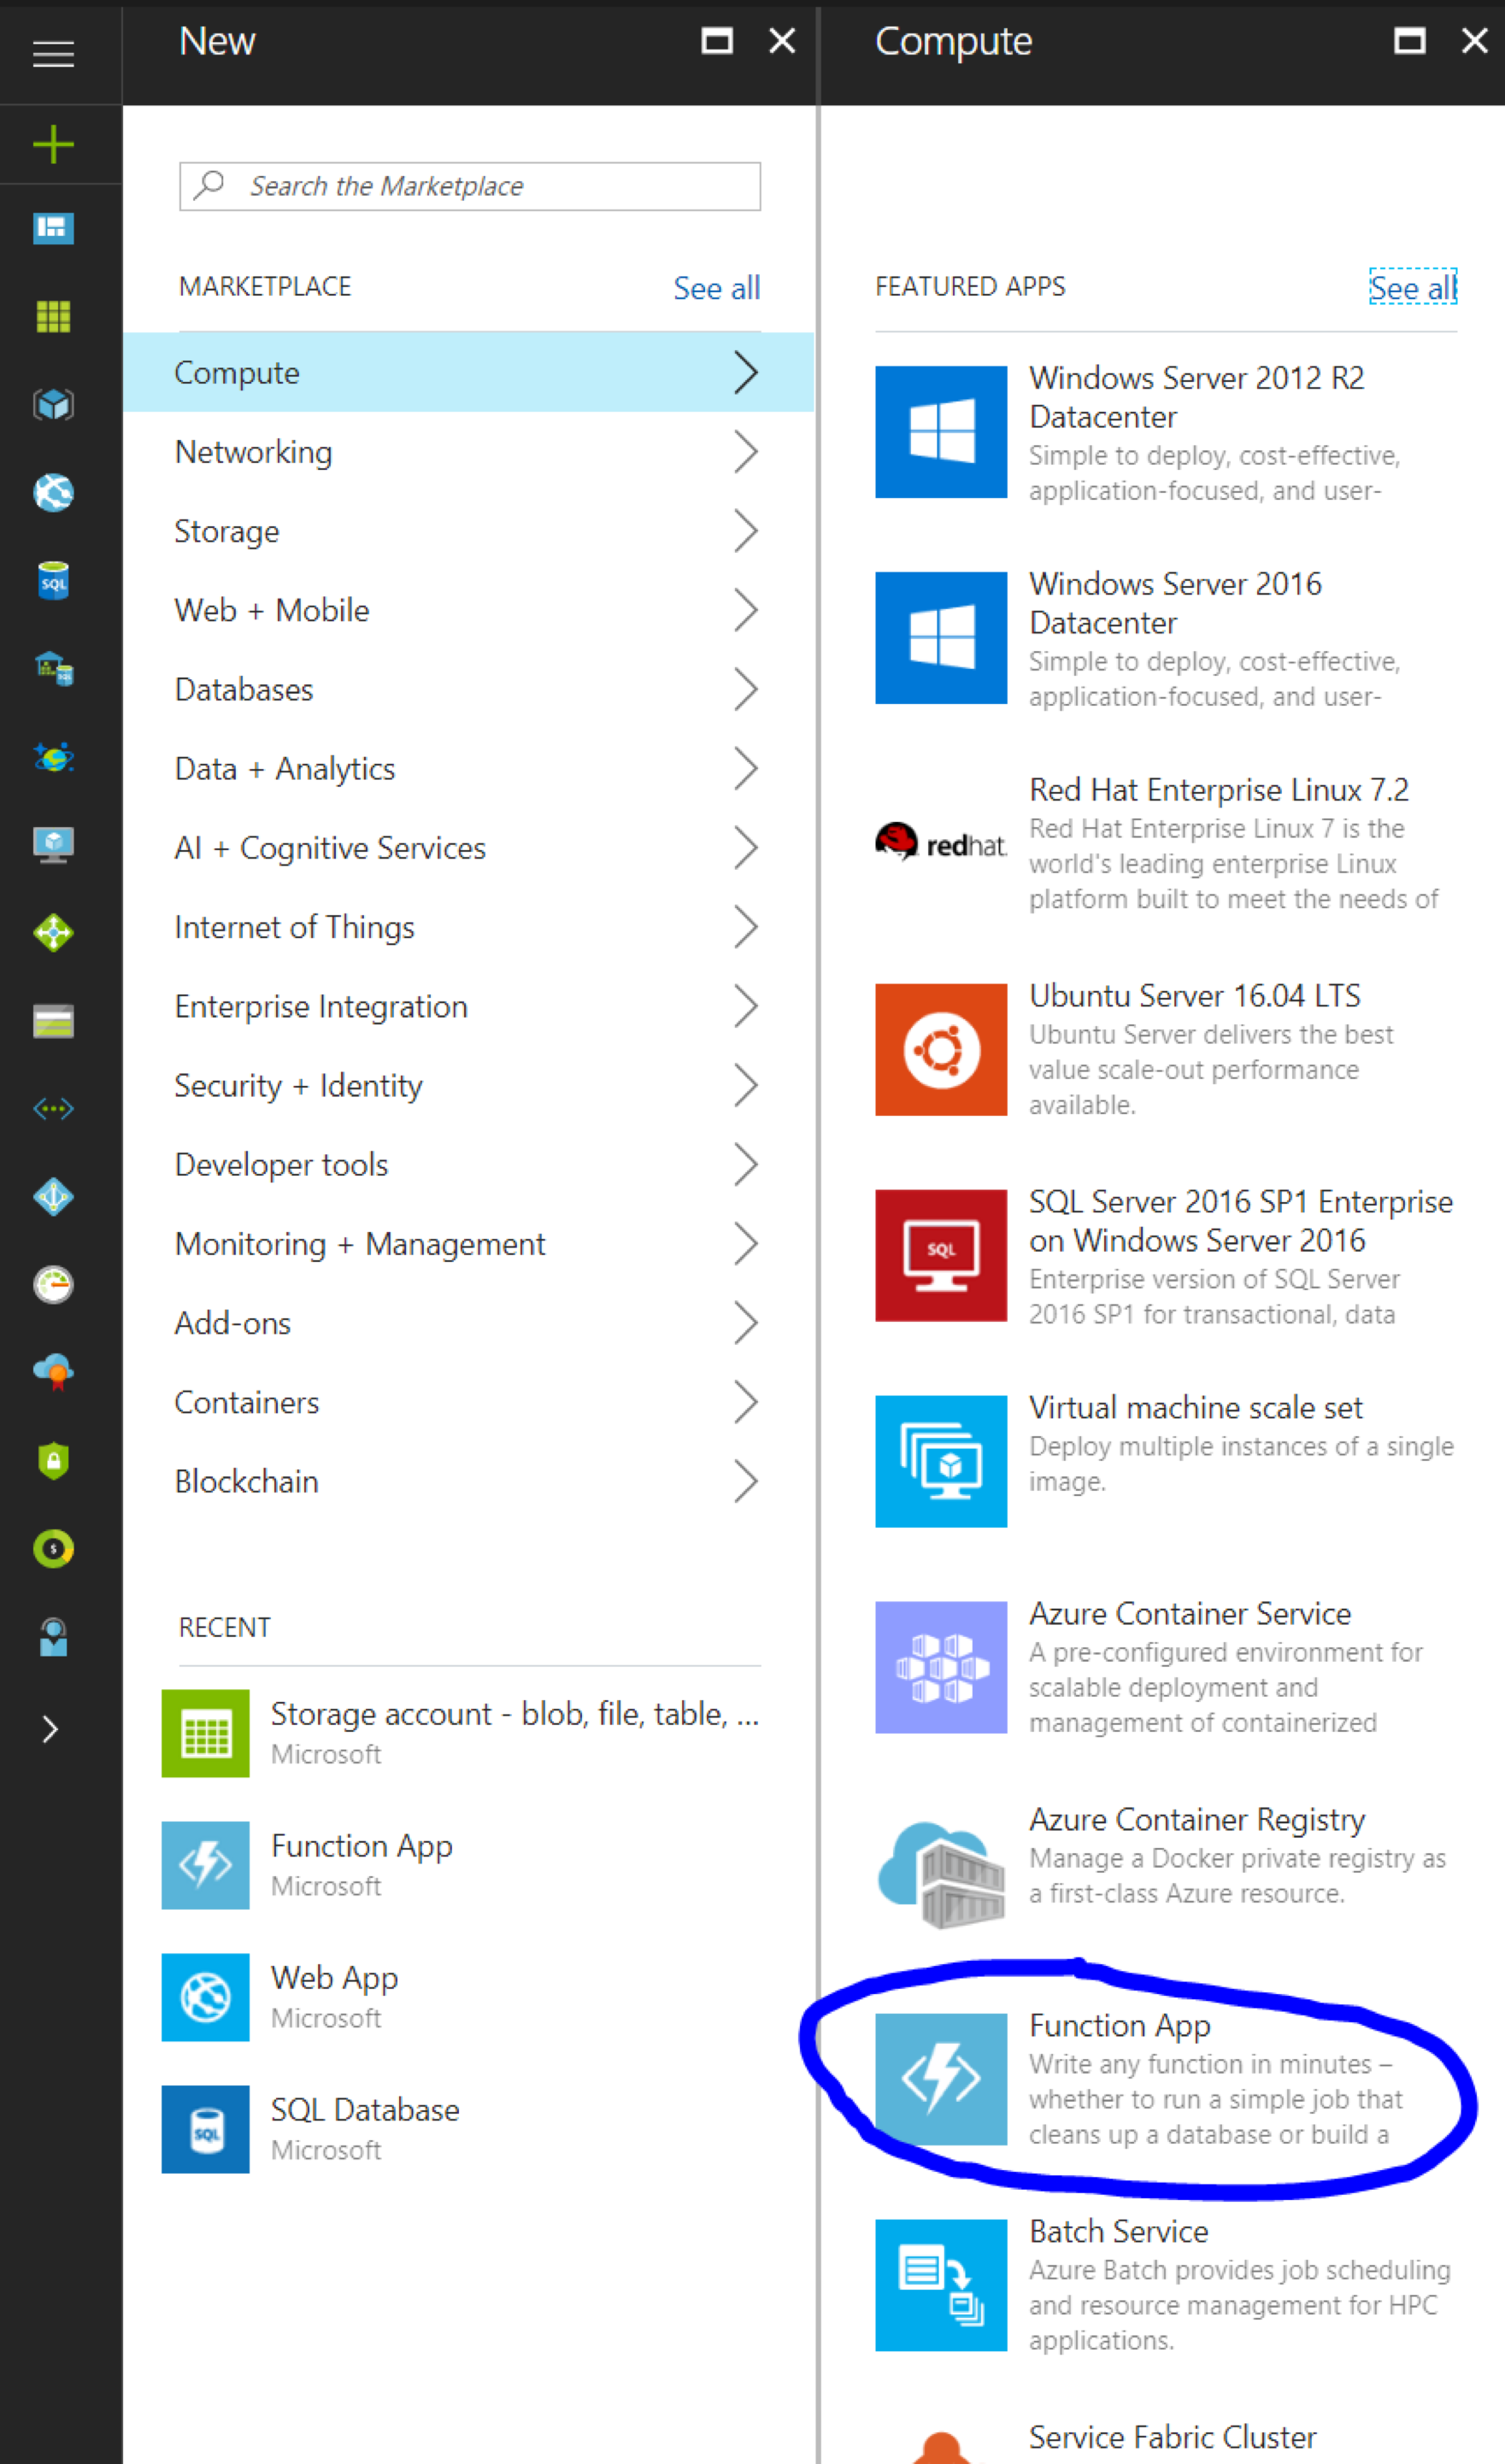
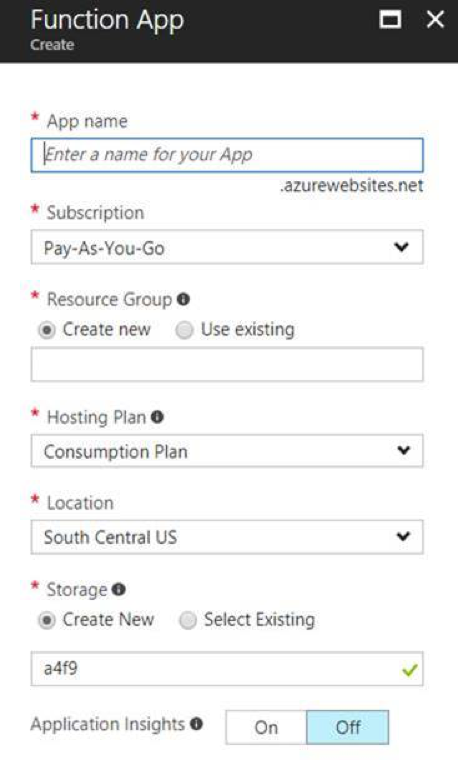
6. Verify that we can call our App Service.
Azure Functions come with a pretty basic function right out of the box. Let’s go ahead and give it a test.
Create a new HttpTrigger – C#
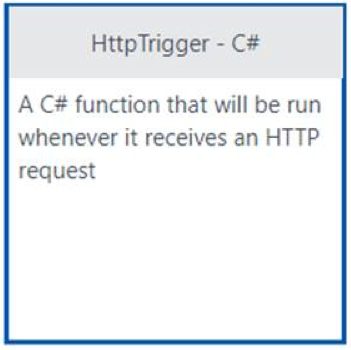
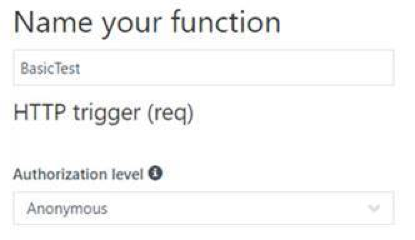
Azure will give you a starting place. We will change this during our test.
Click the Get function URL button.
![]()
Then click the Run button.

In the browser, you should have something like below from the Get function URL button. Append a “?name” reference (e.g., ?name=bob) to the end of the URL so it looks like this:
https:// YOUR_APP_NAME.azurewebsites.net/api/BasicTest?name=bob
Run the request in a new browser window, and you should get the following output:
7. Add a proxy.
Why a proxy? Go to the root of your site. You will get a very friendly message that isn’t particular to your site at all. Let’s add a proxy to return the static file we created all the way back in step 3.
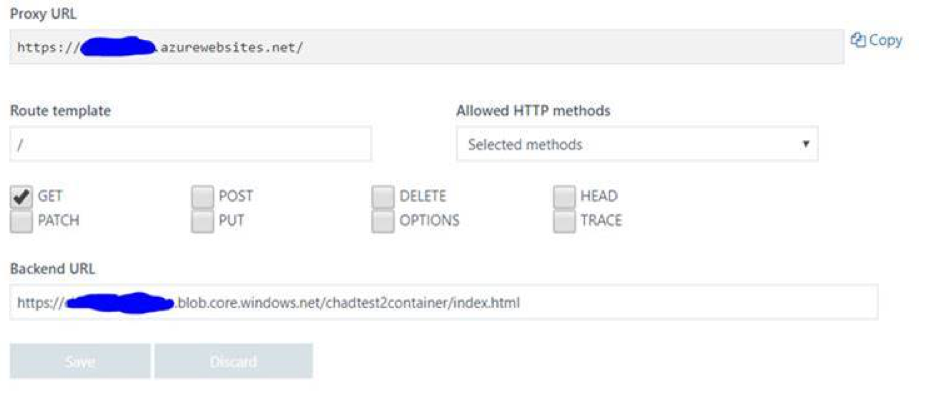
After creating this proxy, the root URL for your project should return a basic HTML page that only says “Hello”. You can test this by visiting the URL:
https://YOUR_APP_NAME.azurewebsites.net/
Next Steps
The solution above doesn’t really do much, but we’re just getting started. Before doing anything else we should probably get some code under source control, which will be the goal of the next post.


